Step-by-Step DIY Storage Bench Build Guide
Unlock your inner DIY enthusiast with our Step-by-Step DIY Storage Bench Build Guide. Discover creative tips, detailed instructions, and handy hacks to transform an ordinary bench into a chic, functional storage solution that adds personality and practicality to your living space.
Ever found yourself yearning for more storage but tired of bland furniture that doesn’t spark joy? Well, pull up a chair—literally—and get ready to dive into a project that’s as rewarding as it is functional! Today, we’re taking you on a journey to create a unique piece of furniture that marries style and storage. Our guide isn’t just any ordinary how-to; it’s a creative romp through design, measurement, assembly, and finishing touches. And yes, it’s all wrapped up in our very own Step-by-Step DIY Storage Bench Build Guide.
Whether you’re a seasoned DIY veteran or a brave beginner, this guide is your golden ticket to building a bench that not only tucks away clutter but also serves as a striking centerpiece in your home. So, dust off those tools, put on your creative cap, and let’s get started!
Before You Begin: A Quick Overview
Before we roll up our sleeves and get our hands dirty (in the best way possible), here are a few pointers to keep in mind:
Safety First: Always wear protective gear, such as safety goggles and gloves. Work in a well-ventilated area and ensure your tools are in good shape.
Plan Ahead: Sketch your design, measure twice (or thrice, if you’re like me), and cut once!
Budget Smart: DIY doesn’t have to break the bank. Reuse materials where possible and look for deals at local hardware stores.
Time Commitment: Set aside an afternoon or two; remember, quality work takes time, but it’s so worth it in the end.
Materials & Tools You’ll Need
A successful project starts with having the right ingredients in your DIY recipe. Here’s a handy list of what you’ll need for our Step-by-Step DIY Storage Bench Build Guide:
Materials:
Plywood or reclaimed wood boards (cut to size)
Wood screws and nails
Wood glue
Sandpaper (various grits)
Primer and paint or stain
Cushions or foam for seating (optional)
Fabric for upholstery (optional)
Hinges for the storage lid
Tools:
Measuring tape
Pencil and ruler
Circular saw or table saw
Drill and screwdriver bits
Clamps
Paintbrushes or rollers
Sander or sanding block
Having everything at your fingertips not only makes the process smoother but also keeps your momentum going. Now, let’s get those creative juices flowing!
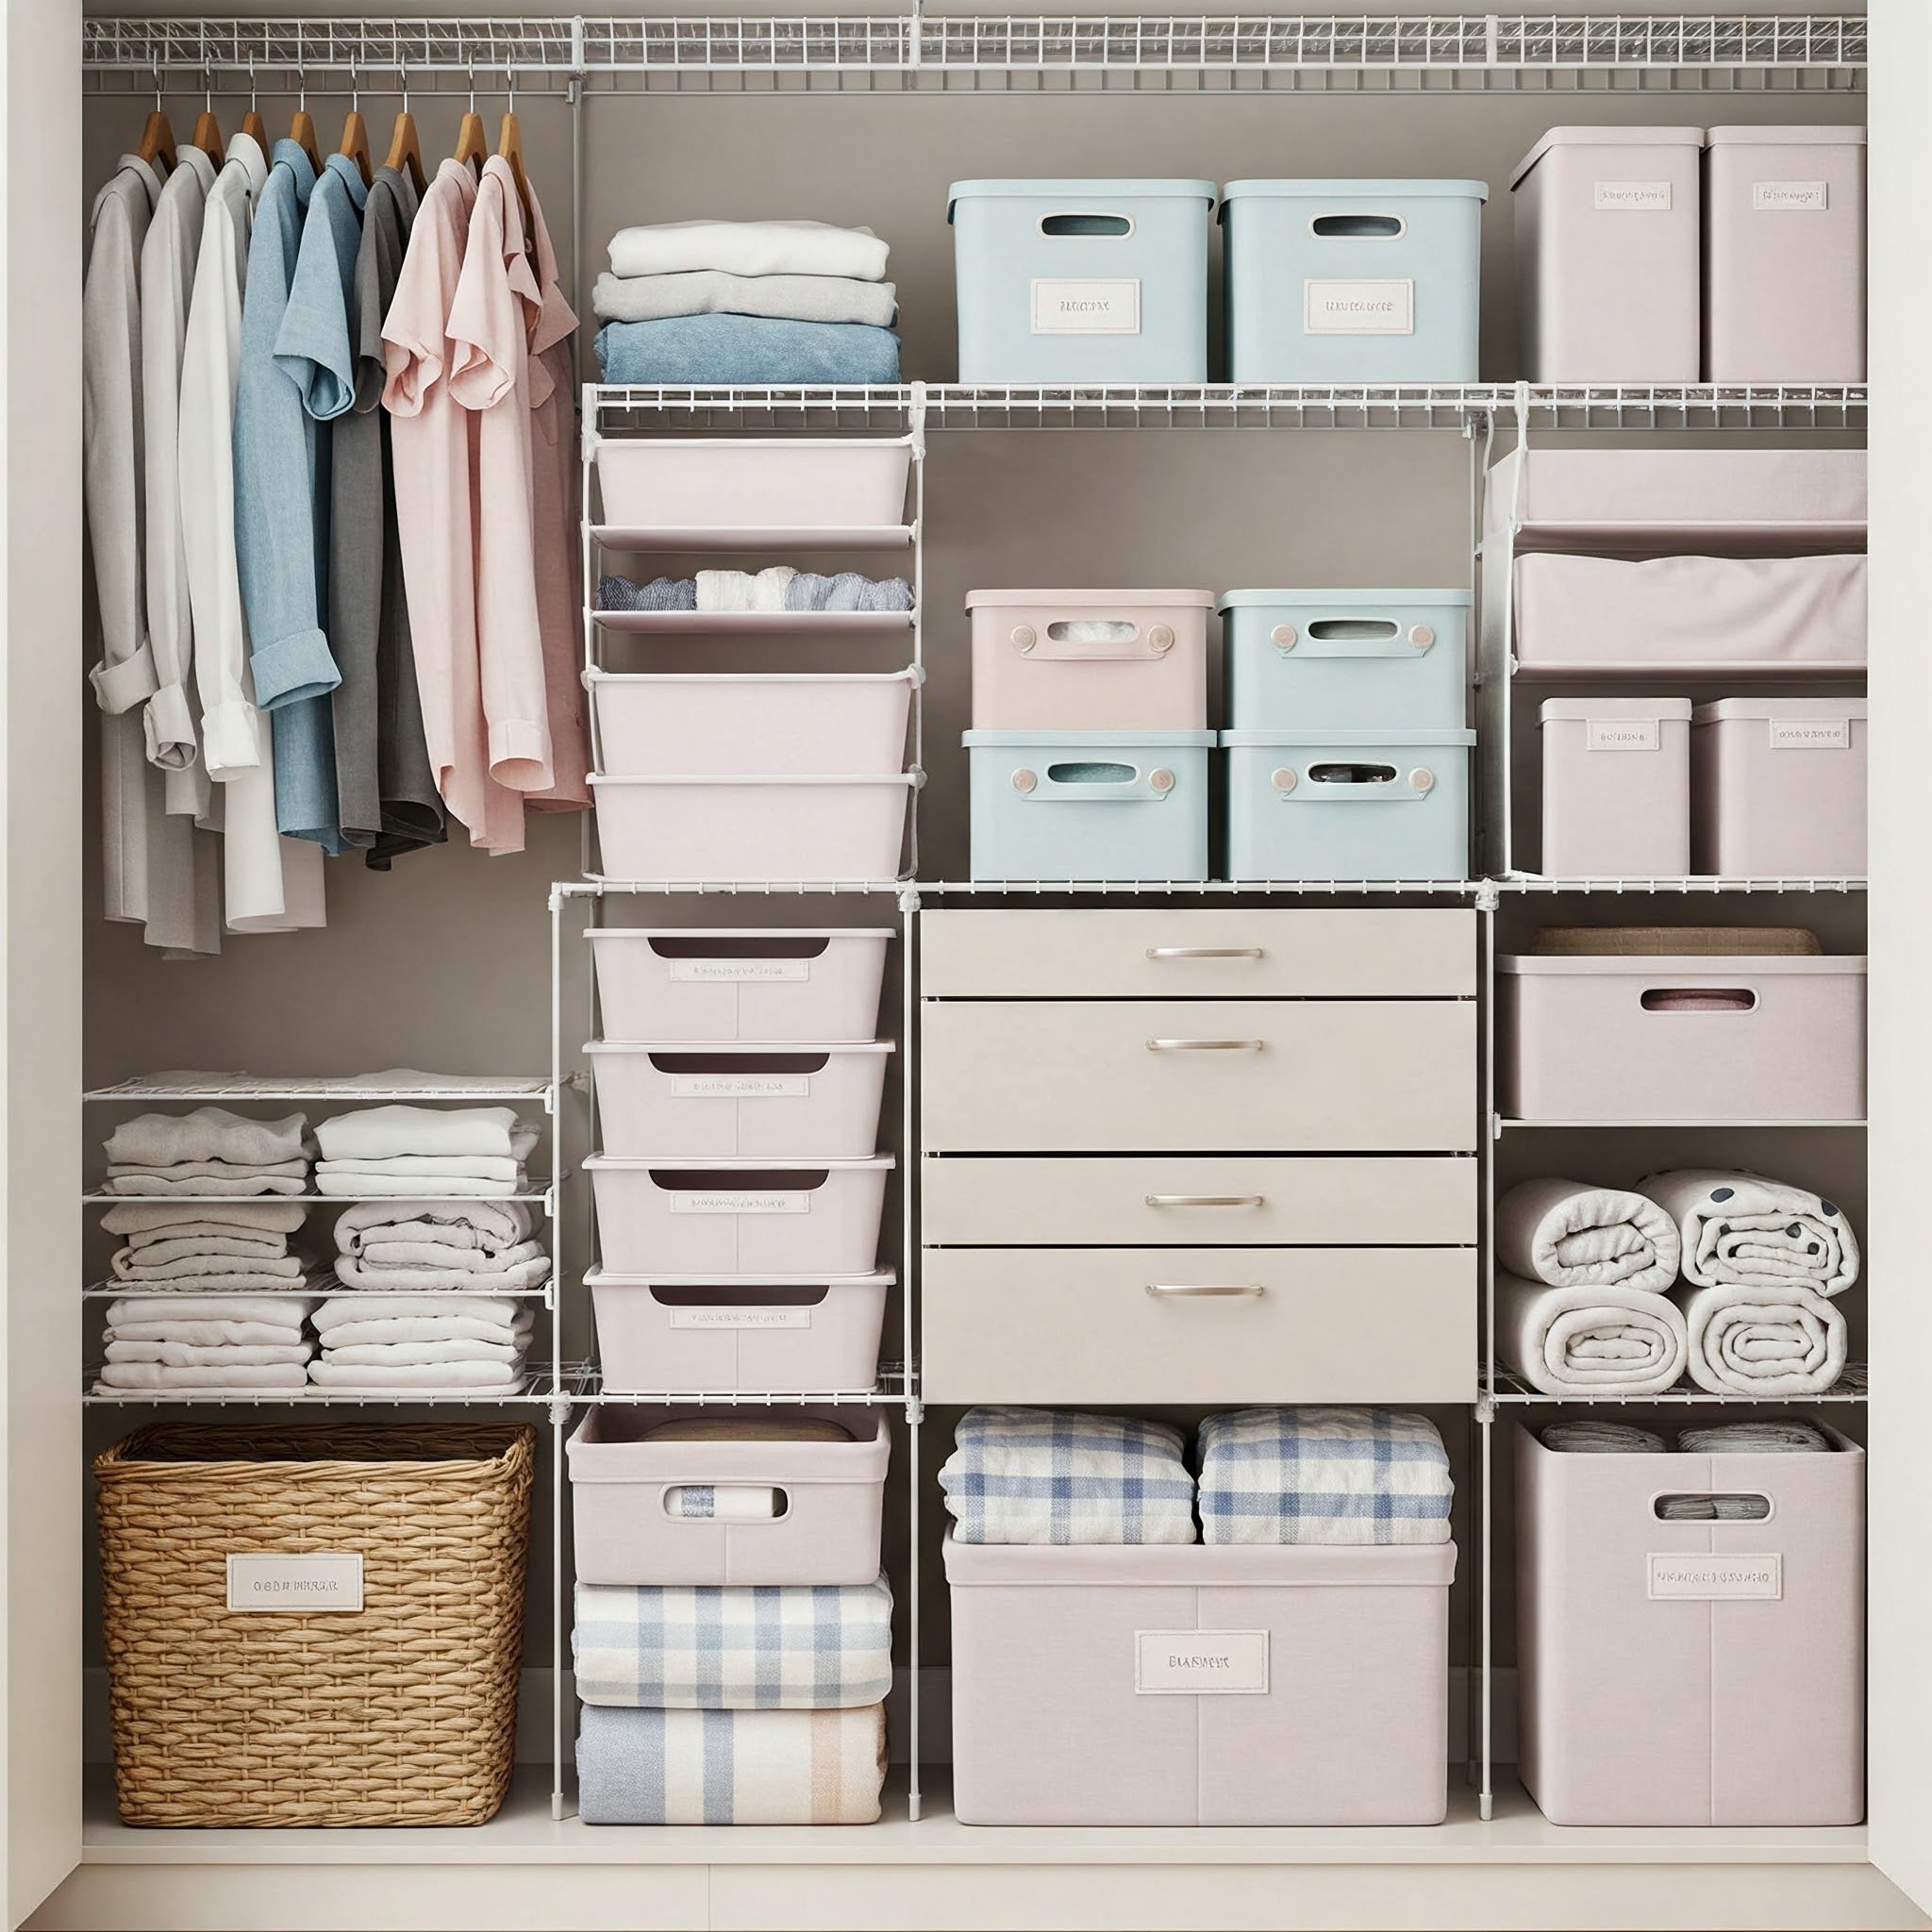
Planning & Design: Setting the Stage
Before diving headfirst into construction, take a moment to map out your vision. Here’s where you get to dream big and think about how this bench will integrate into your home décor.
Consider Your Space
Where will your bench go?
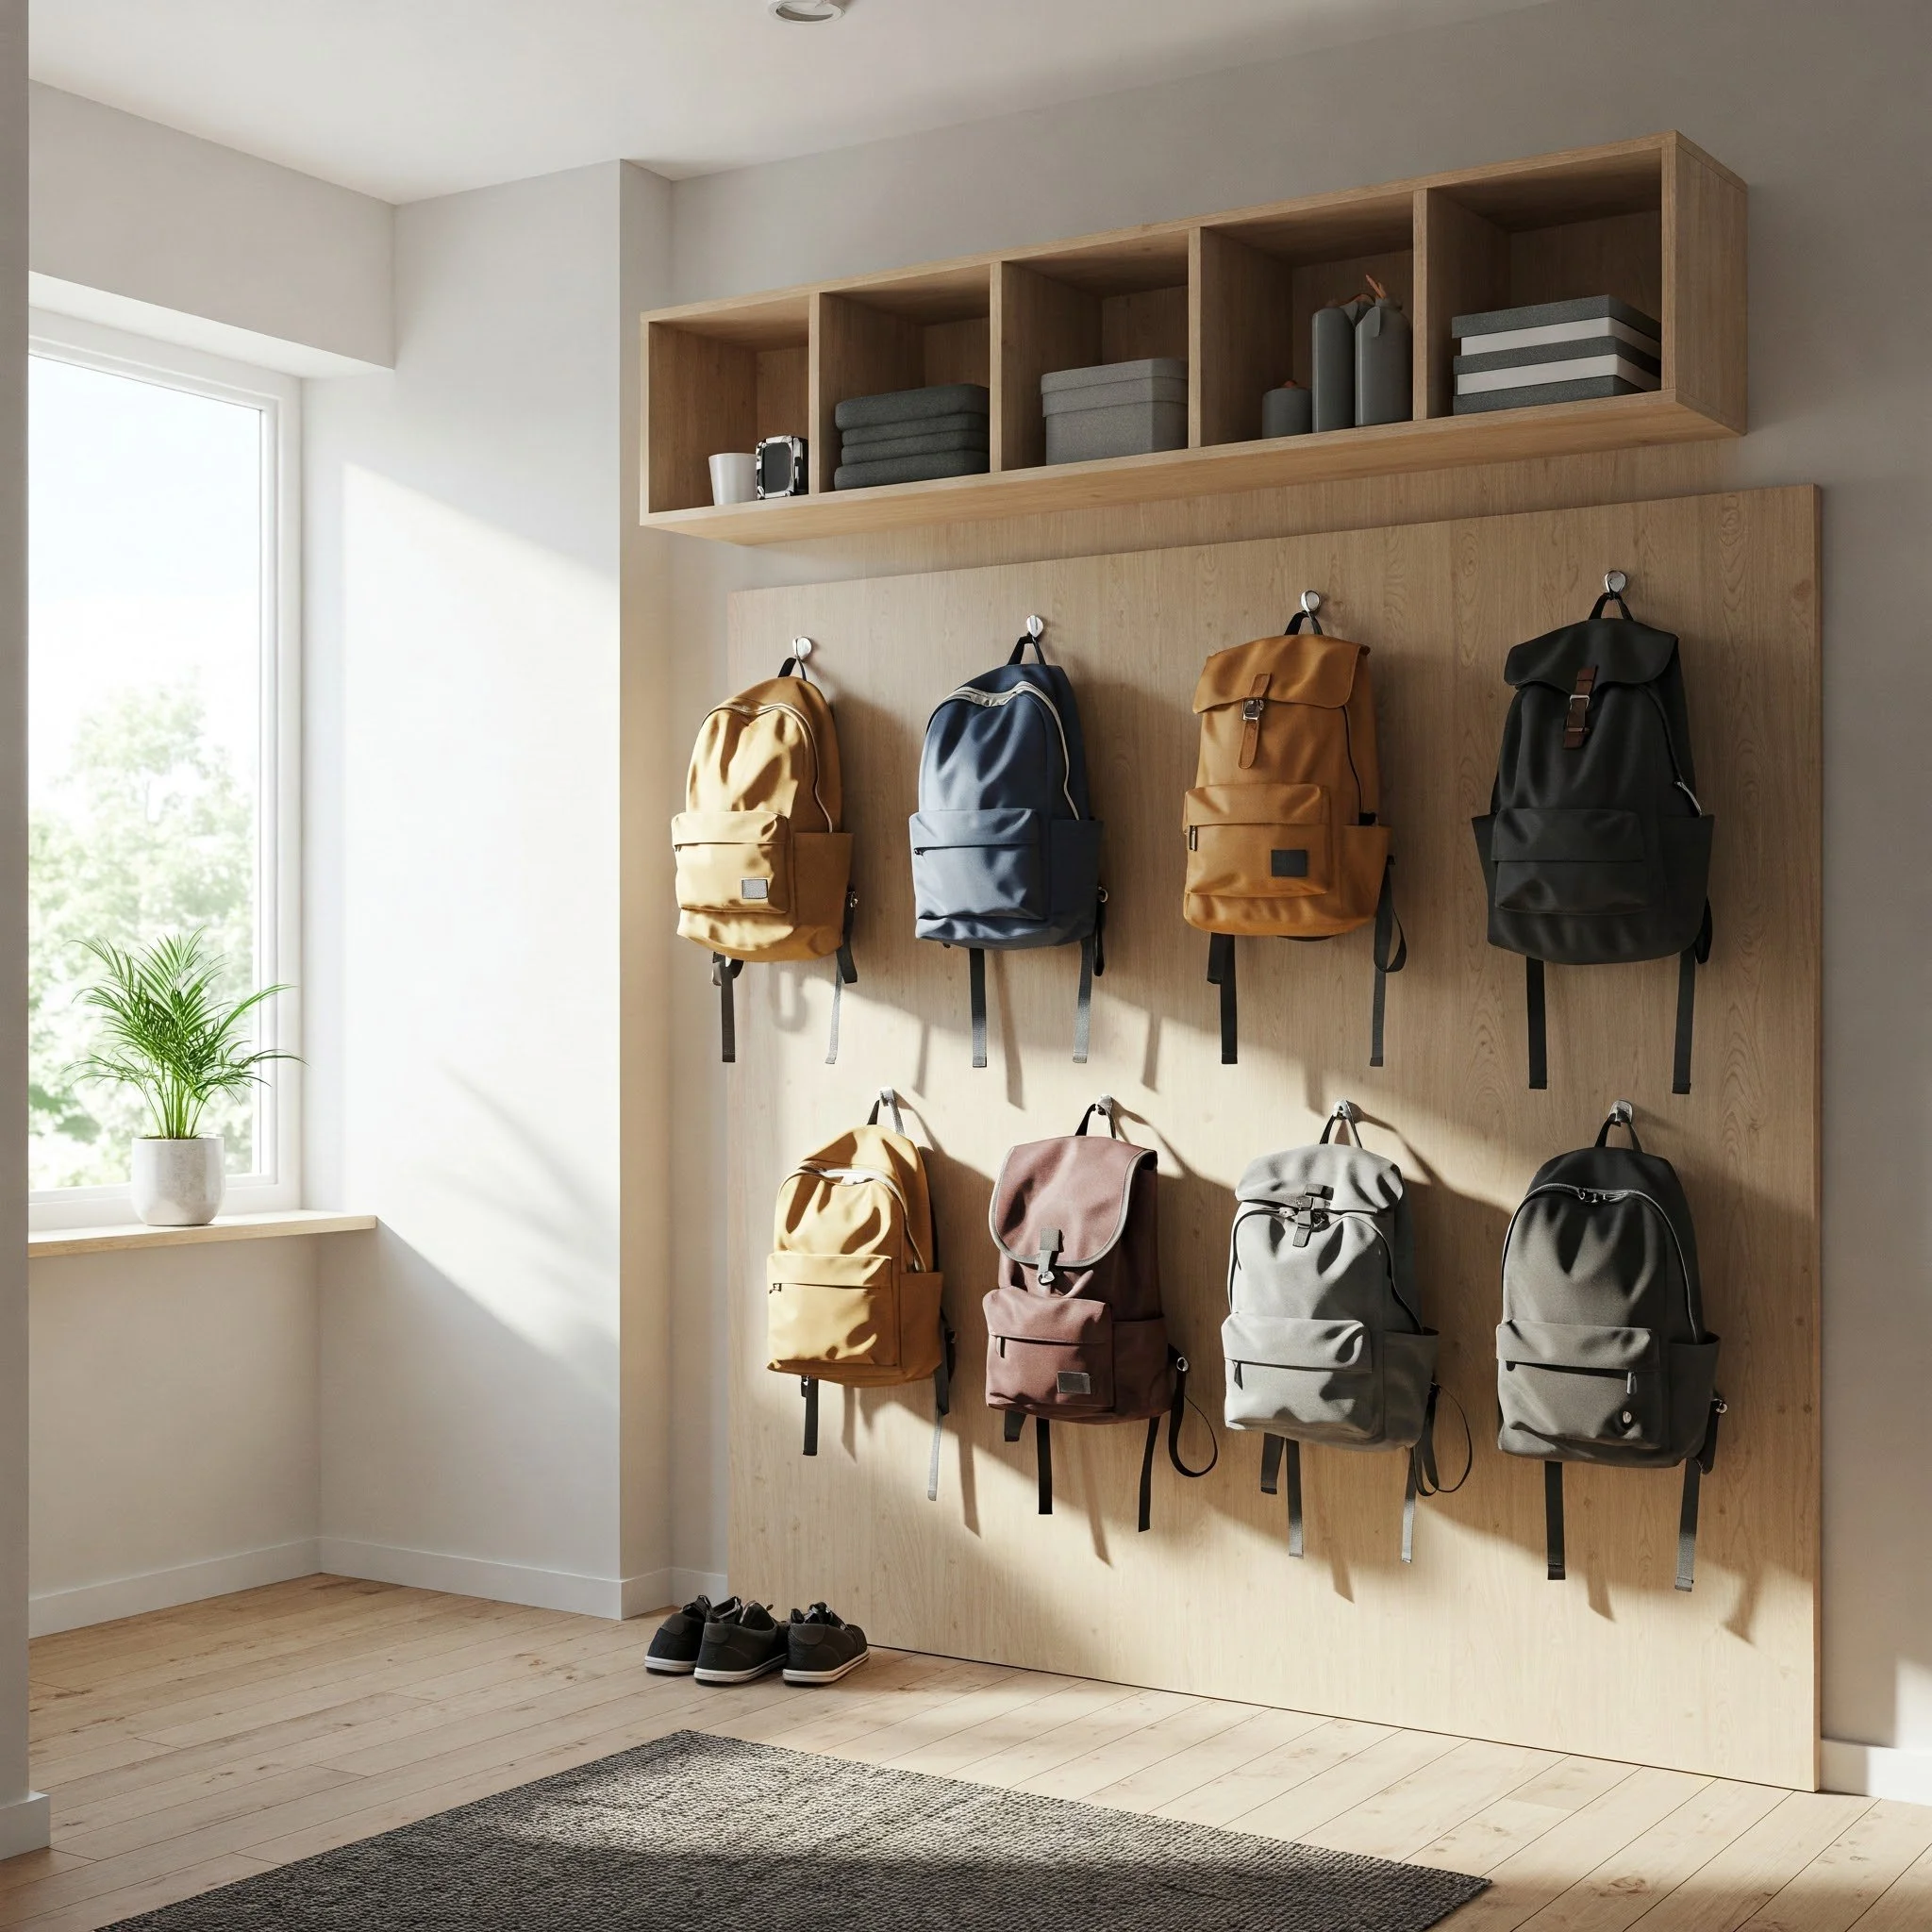
Picture the perfect spot—maybe by the door for those quick shoe changes, or in your living room to add extra seating and storage.What dimensions work best?
Measure the area carefully. A bench that’s too big might overwhelm your space, while one that’s too small might not offer the storage you need.
Sketch Your Design
Grab a piece of paper and start doodling! Whether you’re a stick figure artist or a budding architect, your sketch doesn’t have to be perfect. Just ensure it includes:
The overall dimensions (length, width, and height)
The storage compartment’s layout (will it have a hinged lid, drawers, or open shelves?)
The seating area, if you’re planning to add cushions
Tips to Consider
Adapt to Your Style: Think about whether you want a rustic, industrial, or modern look. This decision will influence your choice of materials and finish.
Future Proofing: Are you likely to need more storage in the future? Design your bench with a little extra space to accommodate future needs.
Personal Touch: This is your DIY masterpiece, so feel free to incorporate unique elements like decorative trim or custom paintwork.
Step-by-Step DIY Storage Bench Build Guide: From Concept to Creation
Now comes the fun part—the actual building process! Follow these steps carefully, and before you know it, you’ll have a one-of-a-kind storage bench that’s the envy of every guest.
Step 1: Gathering Your Materials & Tools
Make sure you have everything listed in our materials and tools section. This might seem like a no-brainer, but nothing kills momentum like realizing you’re missing a crucial item halfway through the project.
Quick Checklist:
Wood boards or plywood cut to size
Screws, nails, and glue
Measuring tape, saw, drill, and sanding tools
Paint, primer, and finishing supplies
Step 2: Measuring, Cutting, and Sanding
Measuring and Marking:
Measure Twice, Cut Once: Start by measuring your wood pieces carefully. Use a pencil to mark the cutting lines clearly.
Double Check Dimensions: Ensure that all your pieces will fit together snugly. Accuracy here is key to a sturdy build.
Cutting:
Use your circular saw or table saw to cut along the marked lines.
Keep your work area organized, and always secure the wood with clamps before cutting.
Sanding:
Smooth out all rough edges with sandpaper. Begin with a coarser grit and finish with a fine grit for that polished feel.
A well-sanded surface not only looks better but also holds paint or stain more evenly.
Step 3: Assembling the Bench Frame
It’s time to bring your measurements to life. Lay out the cut wood pieces according to your design.
Assembly Tips:
Dry Fit First: Before applying glue or screwing pieces together, arrange everything to ensure the fit is perfect.
Apply Wood Glue: For extra strength, apply wood glue along the edges before assembling the pieces.
Screw or Nail: Secure the pieces together using wood screws or nails. Pre-drill holes to prevent the wood from splitting.
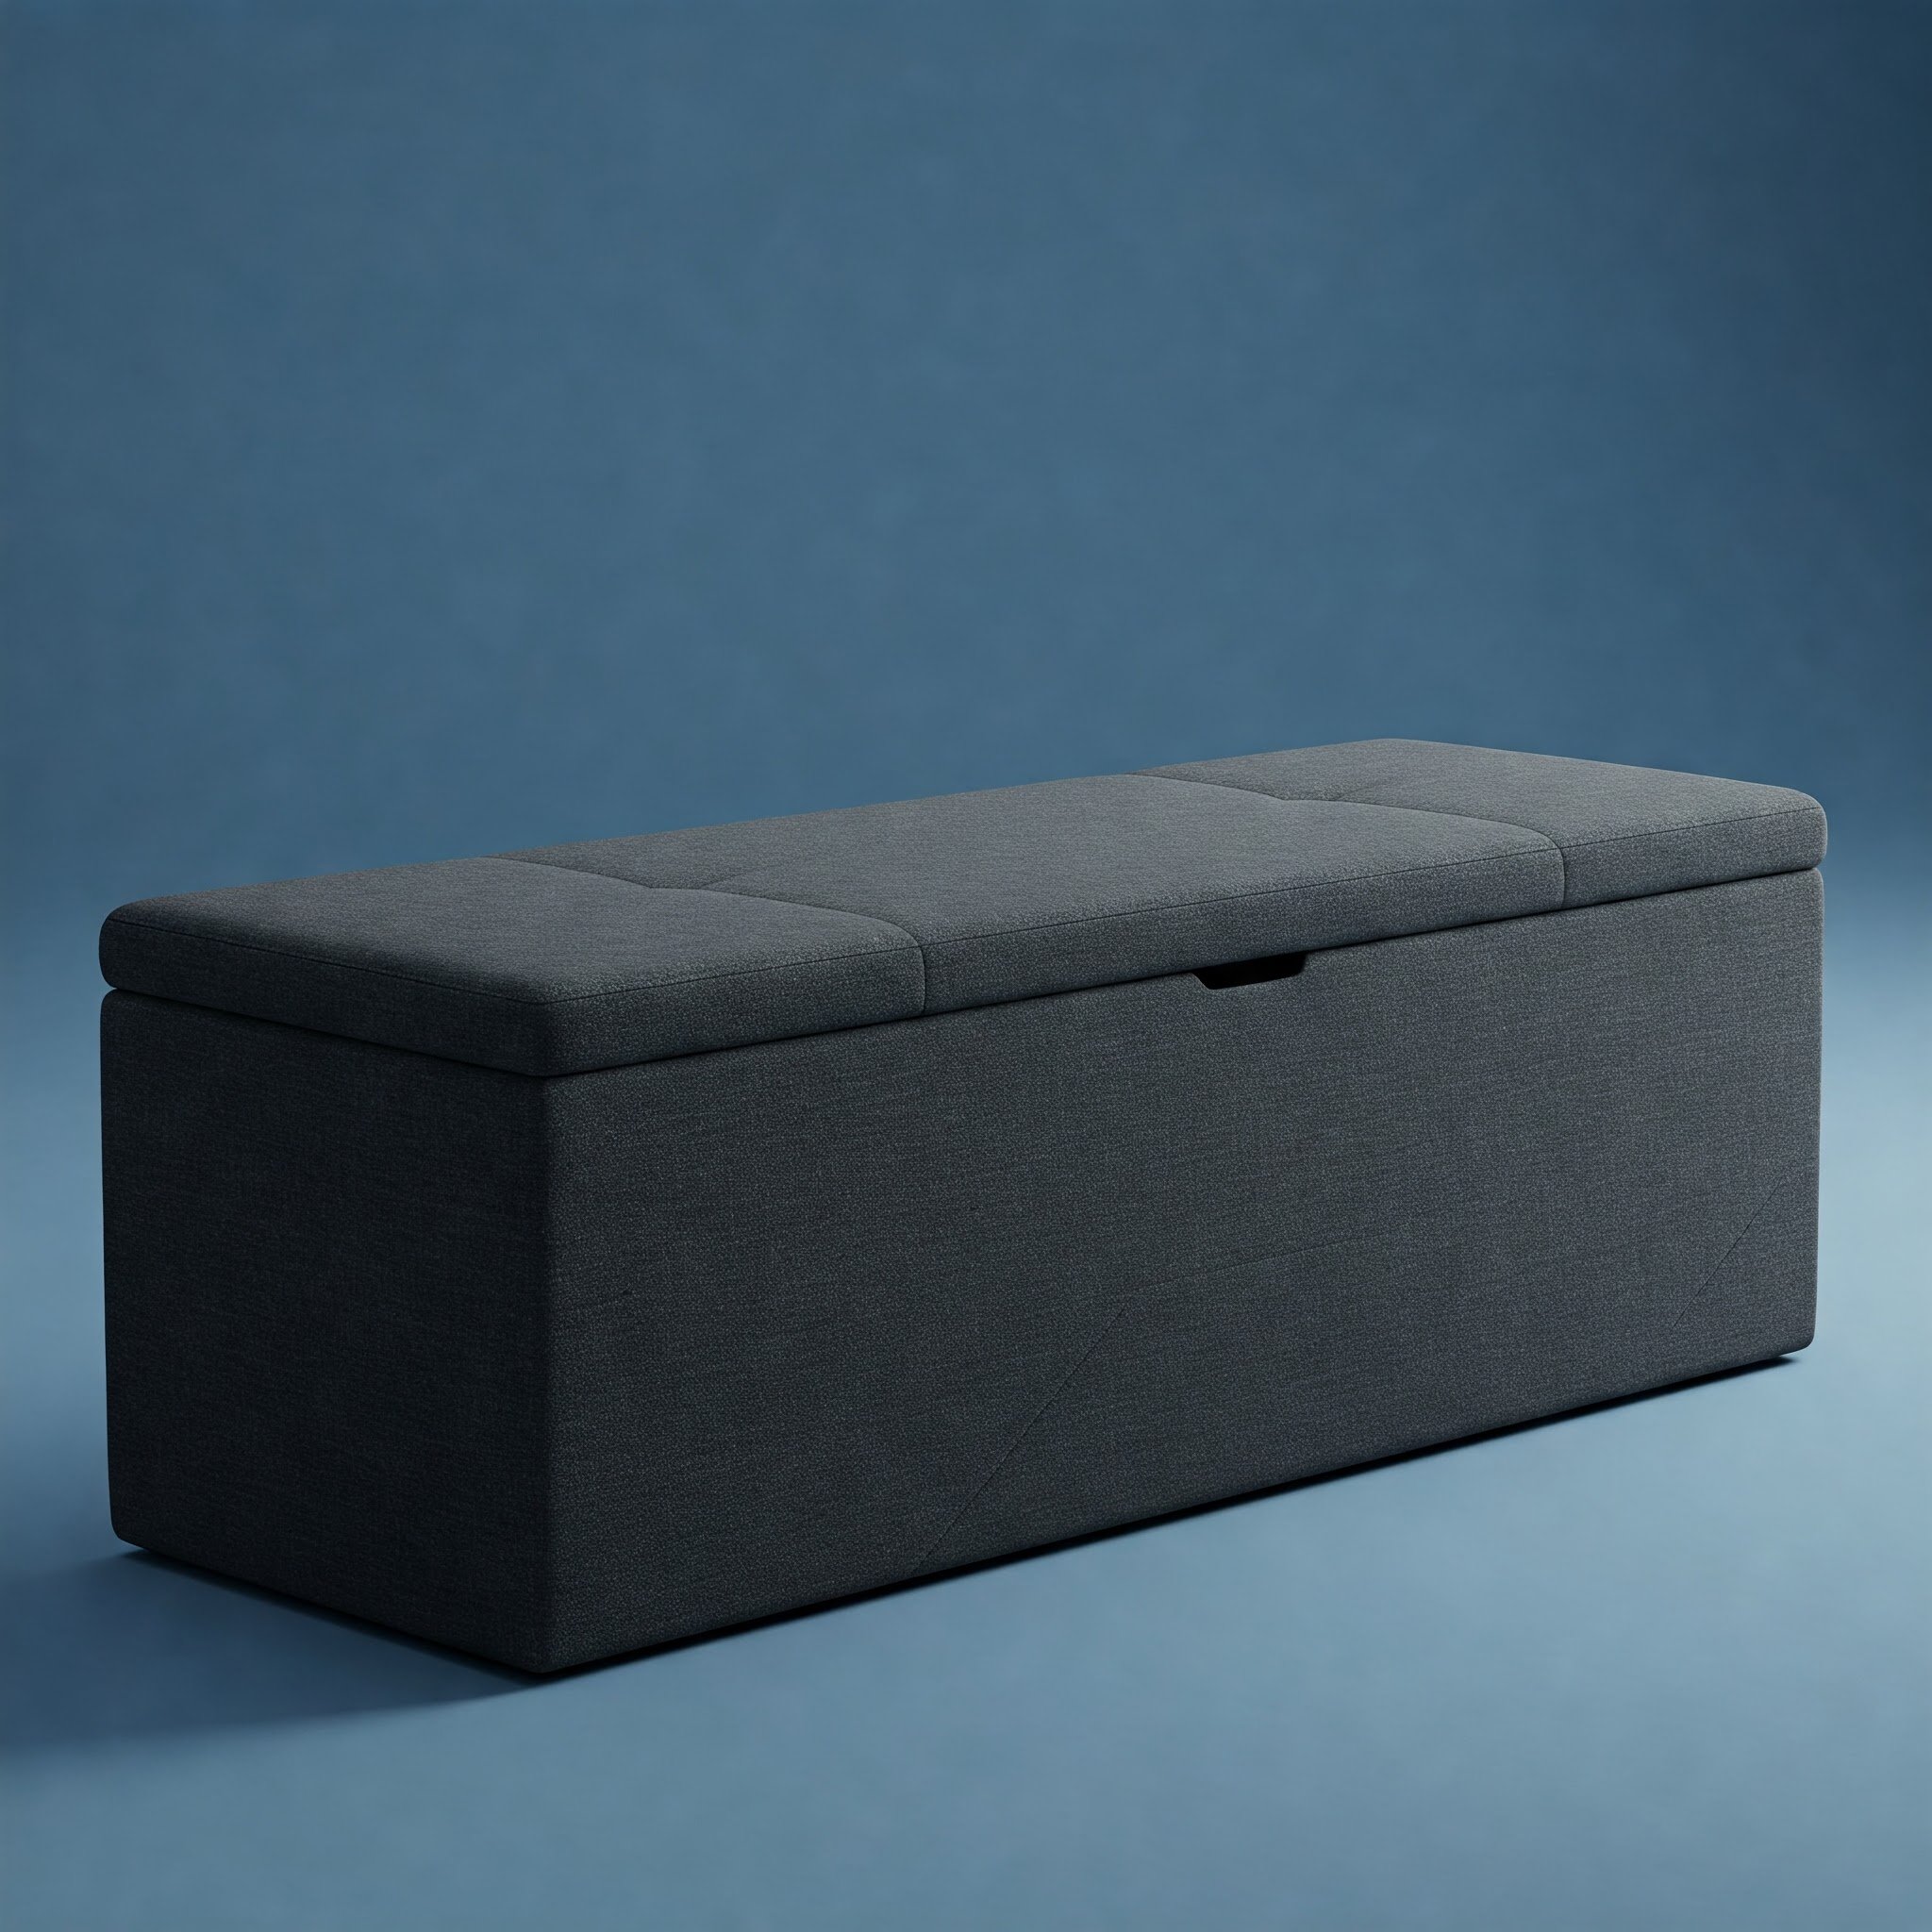
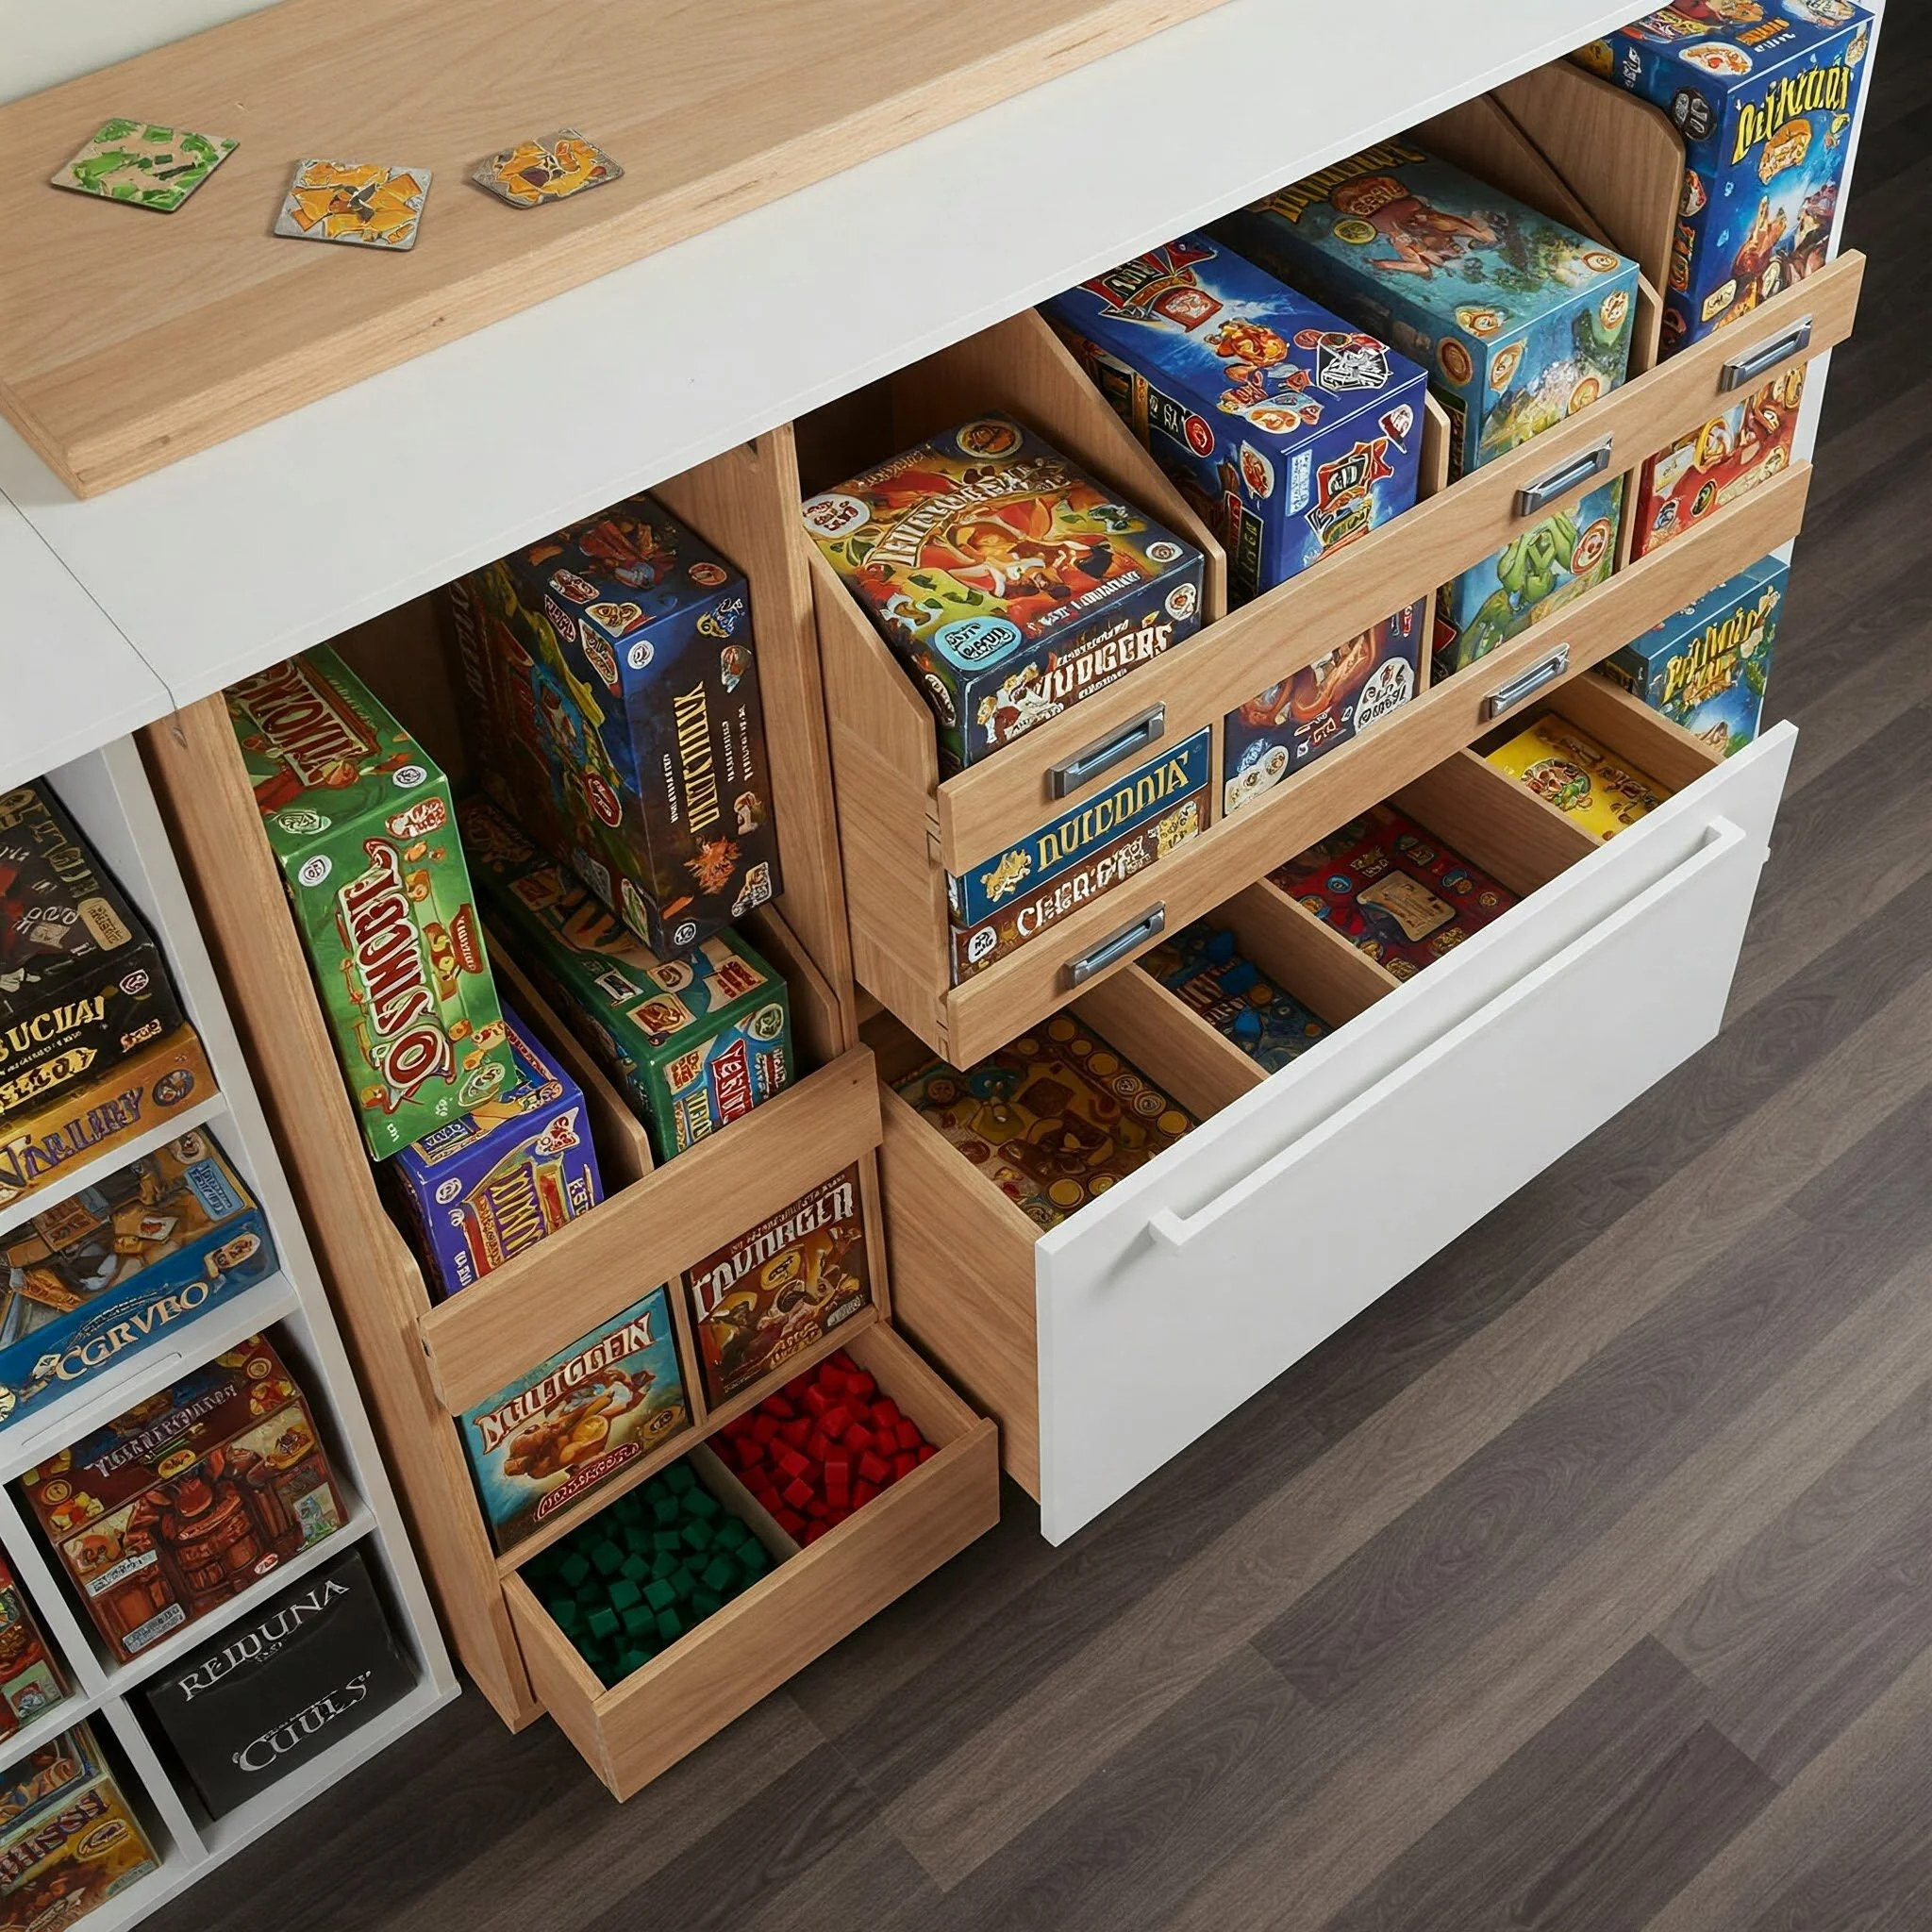
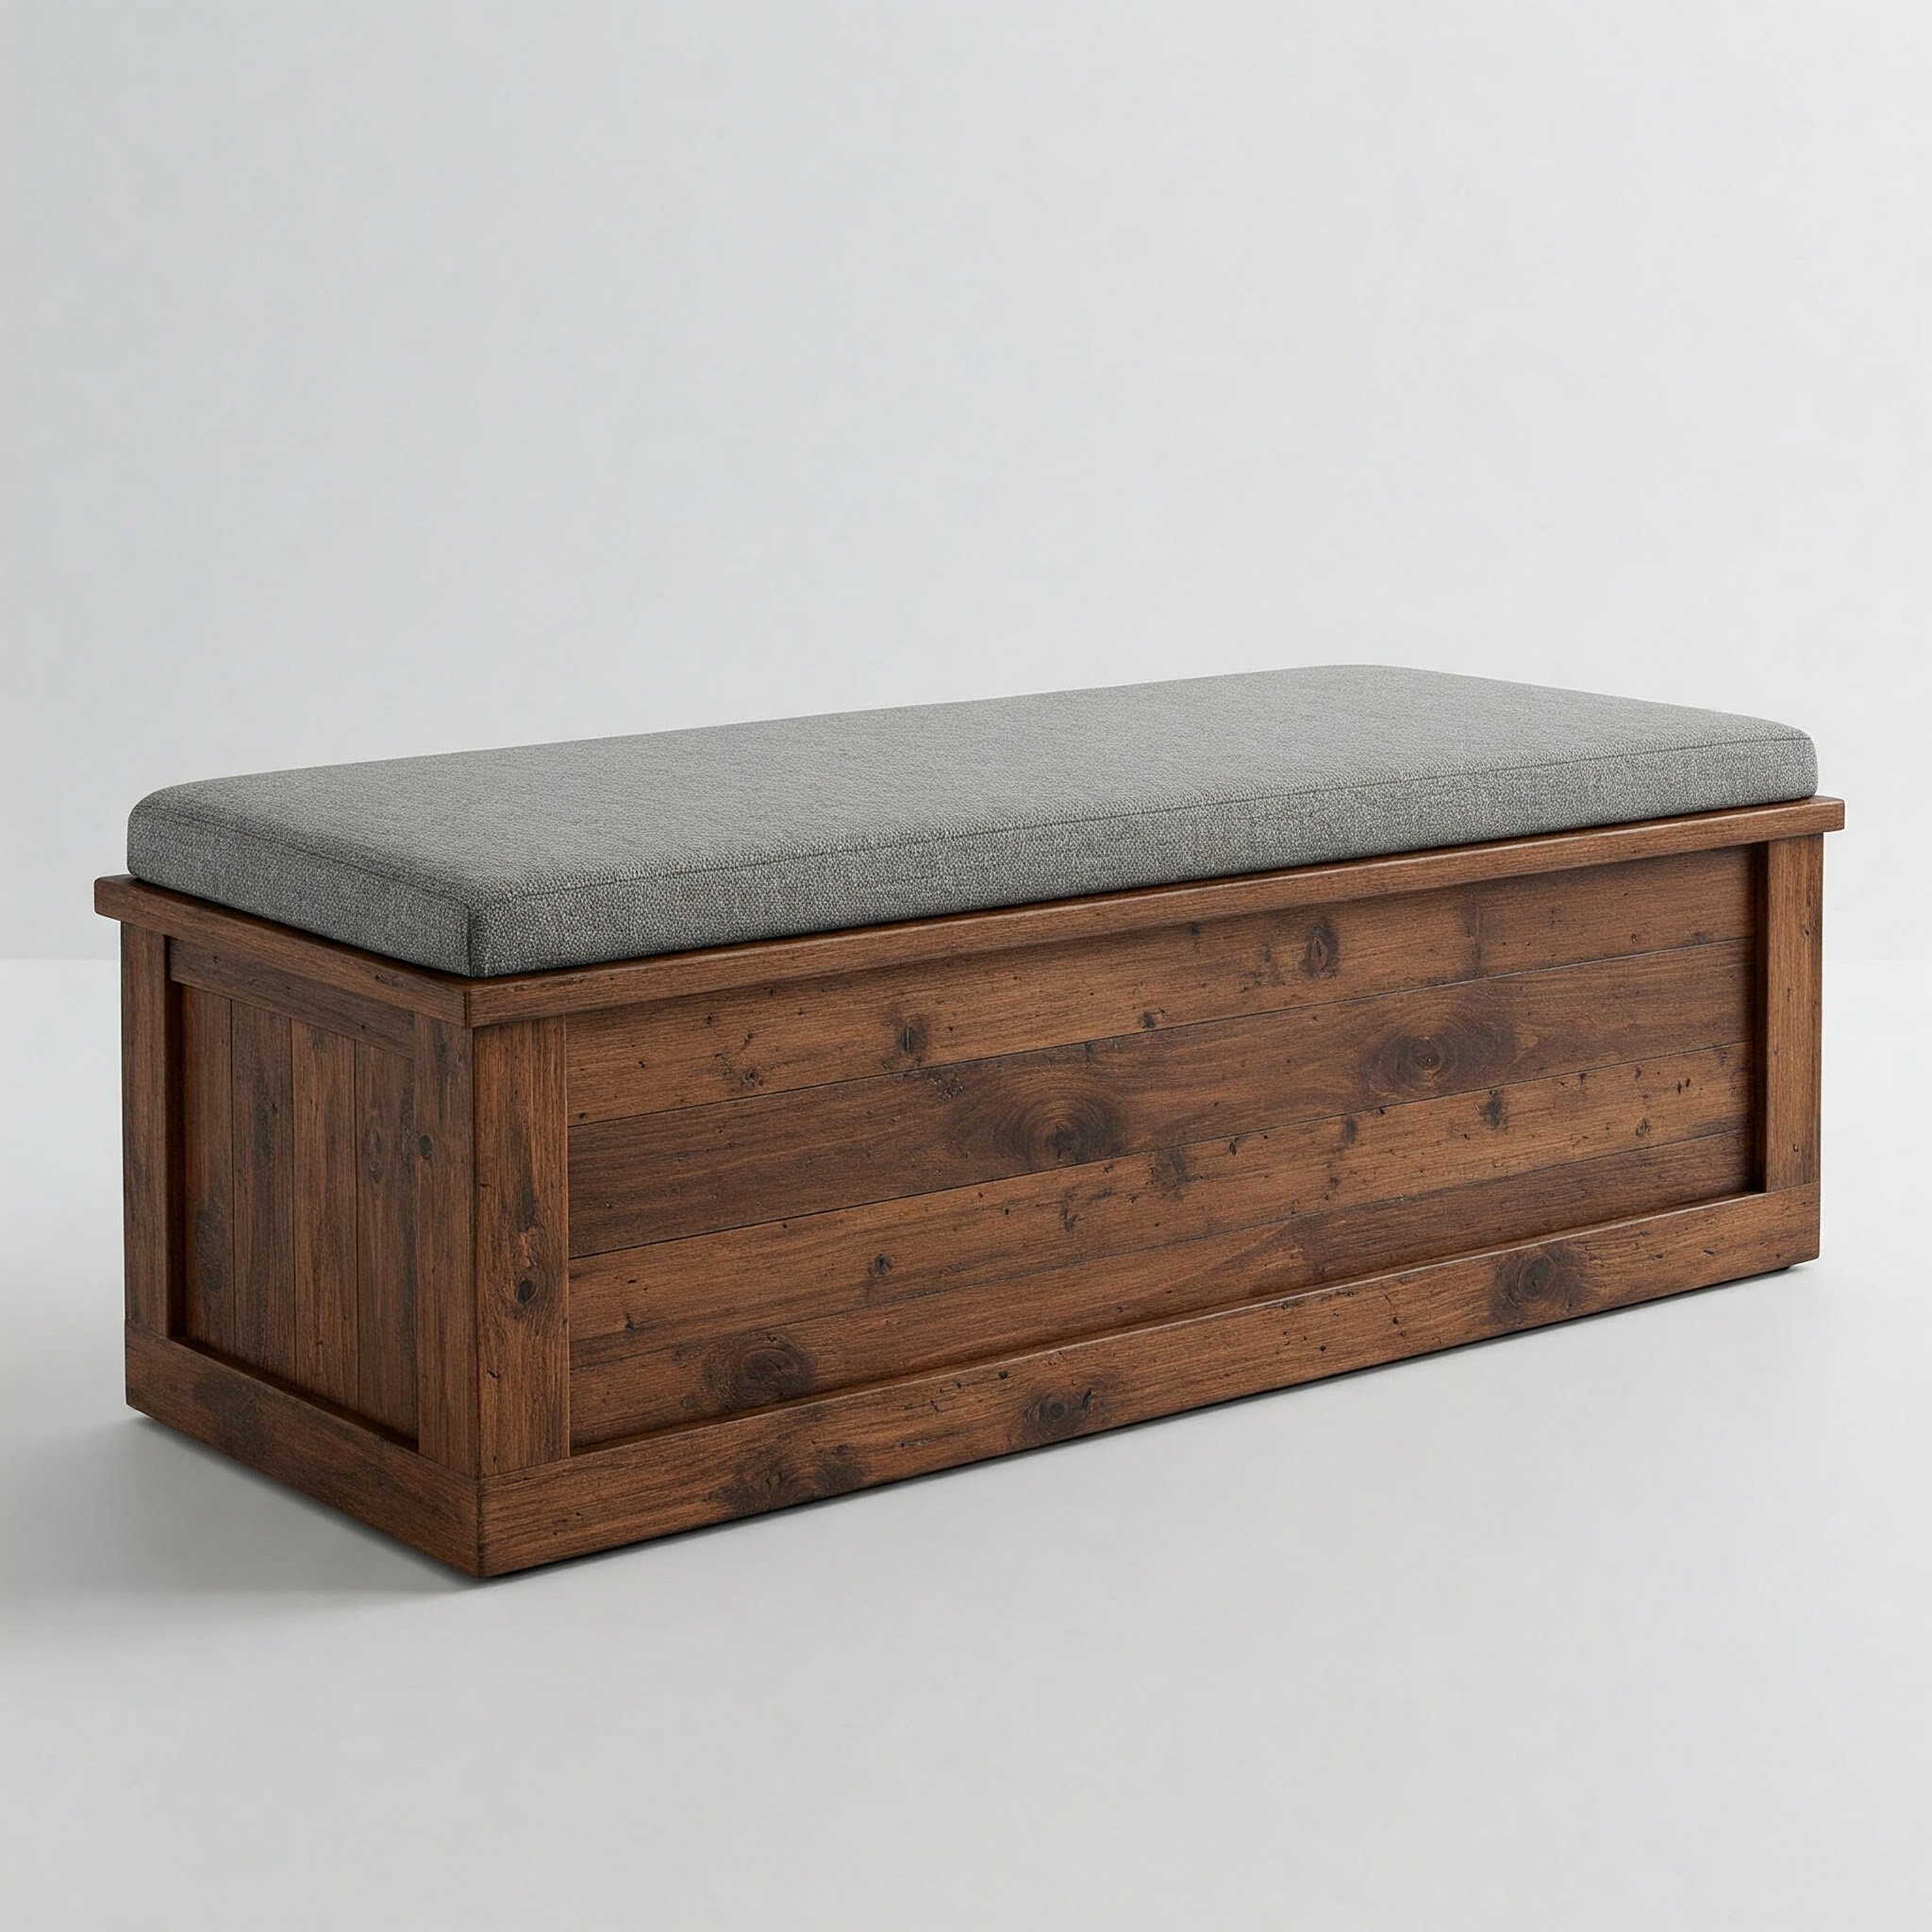
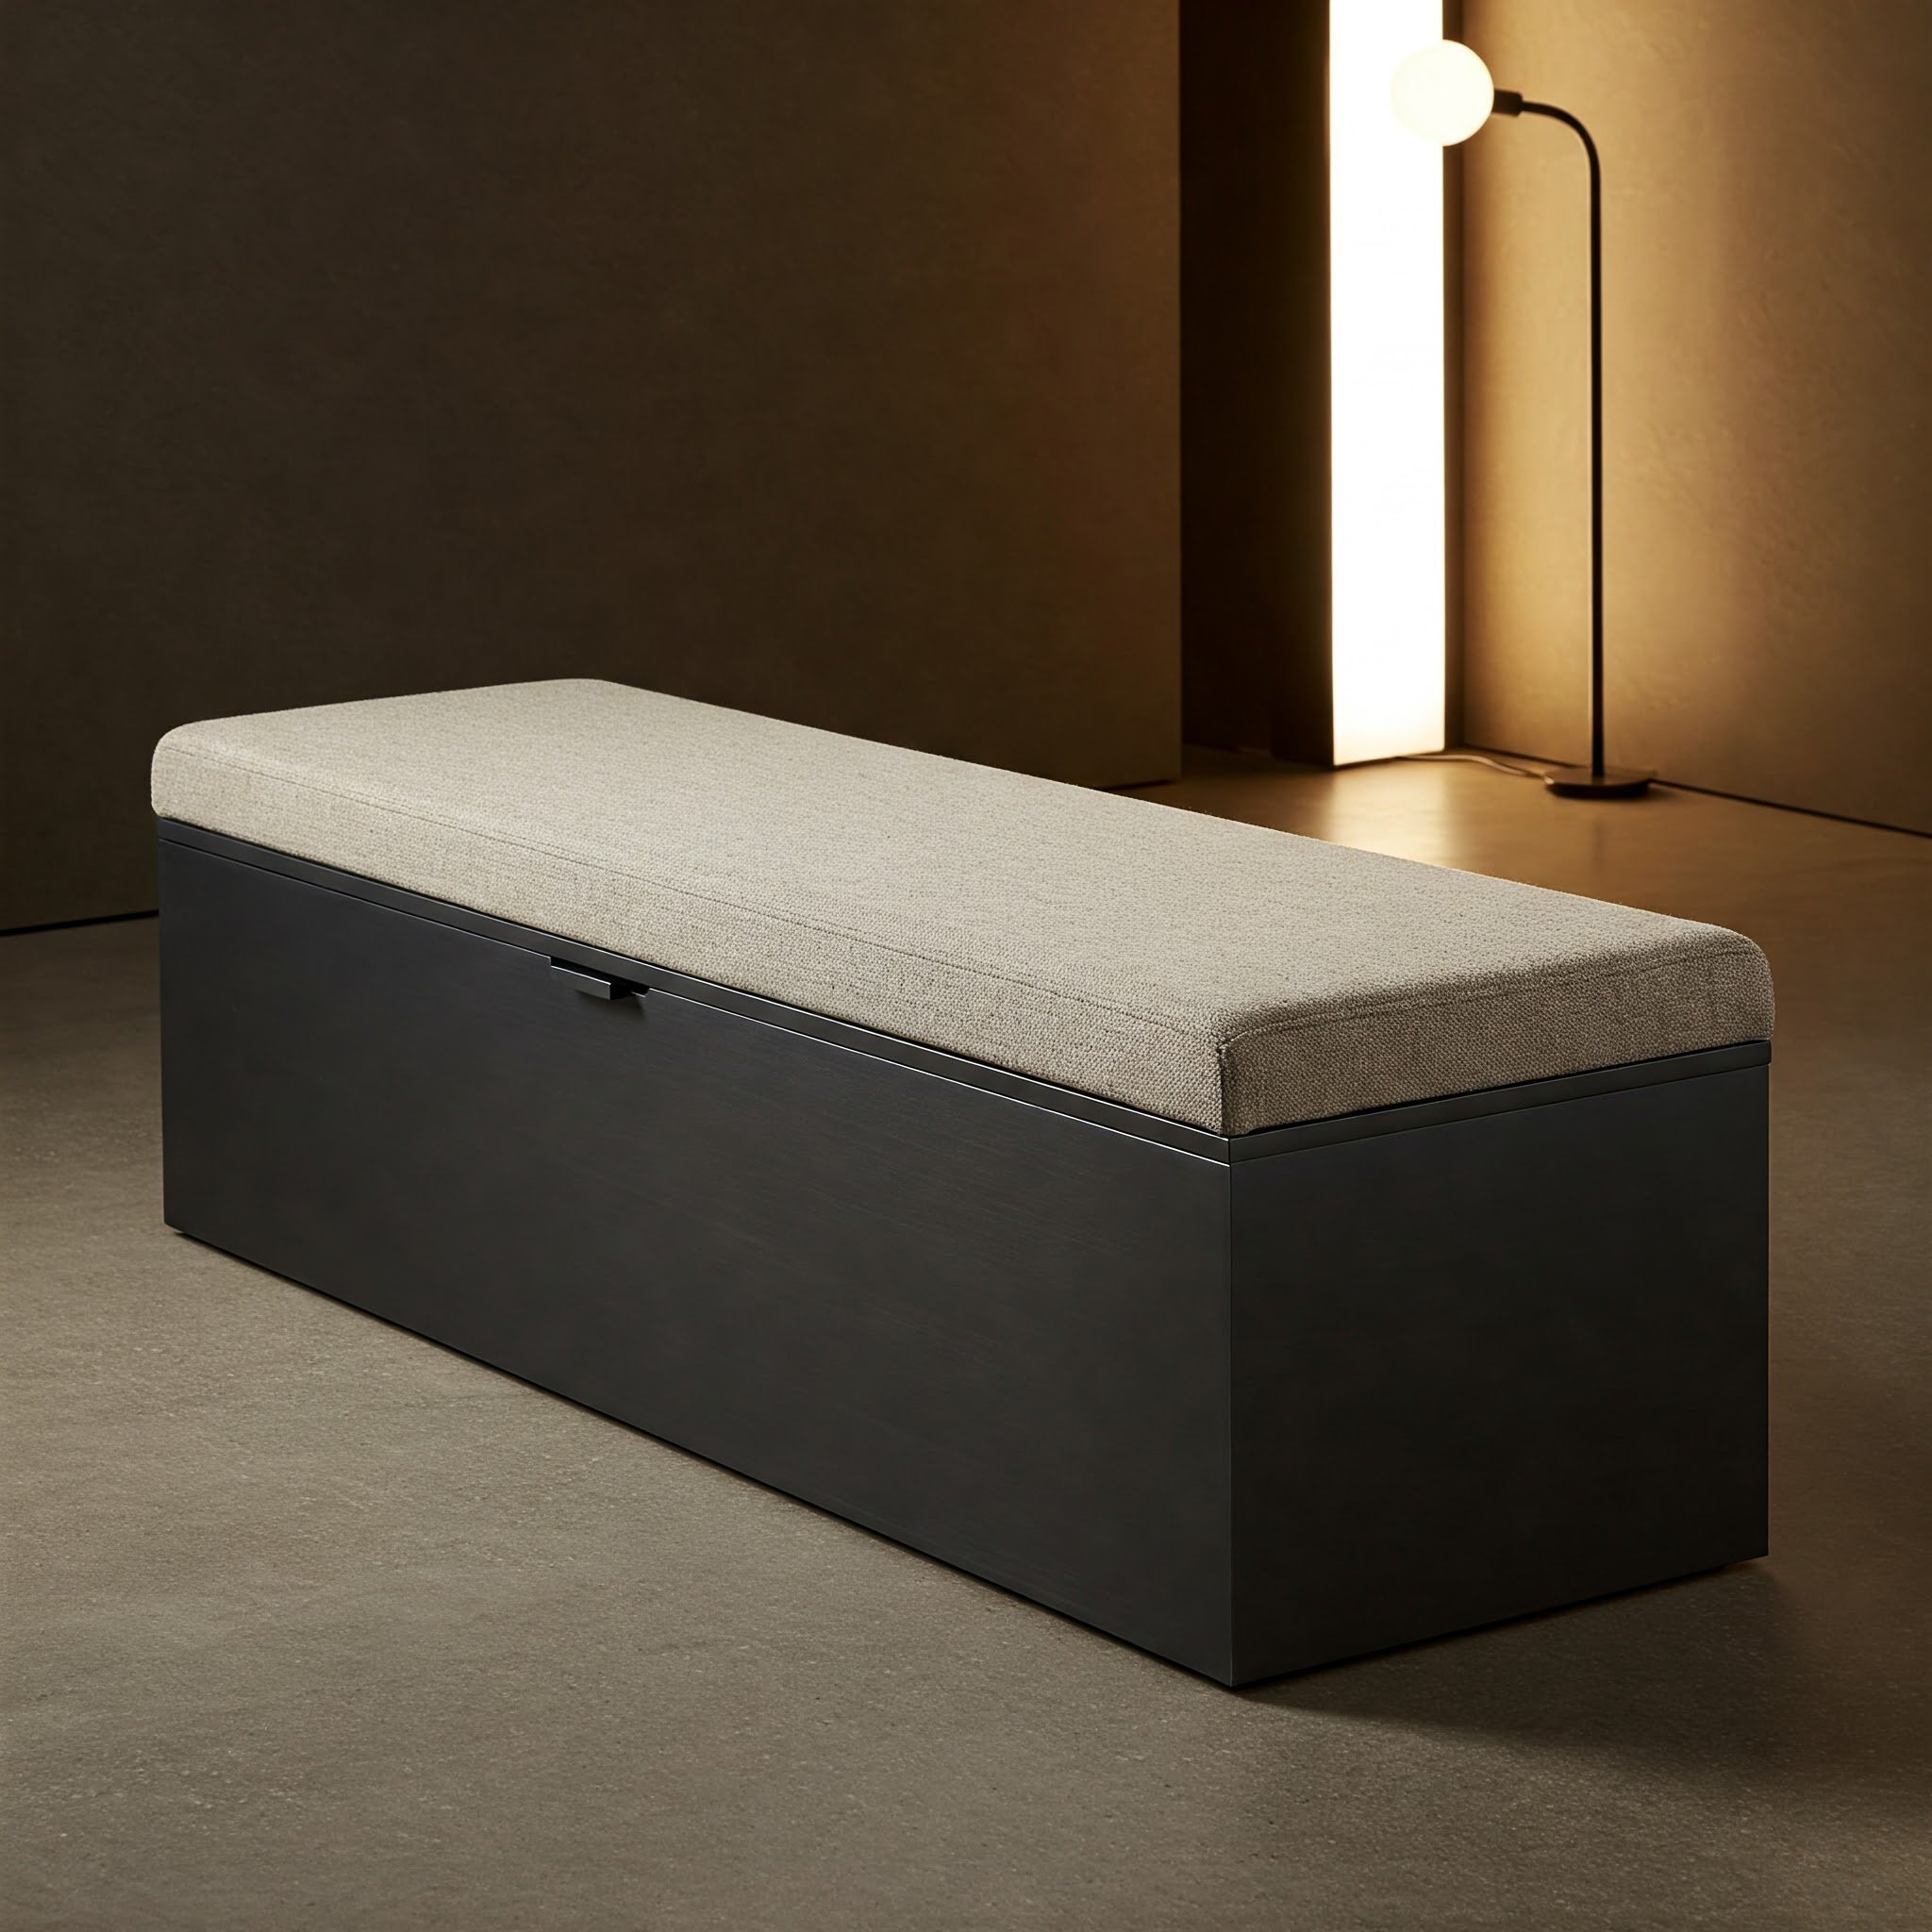
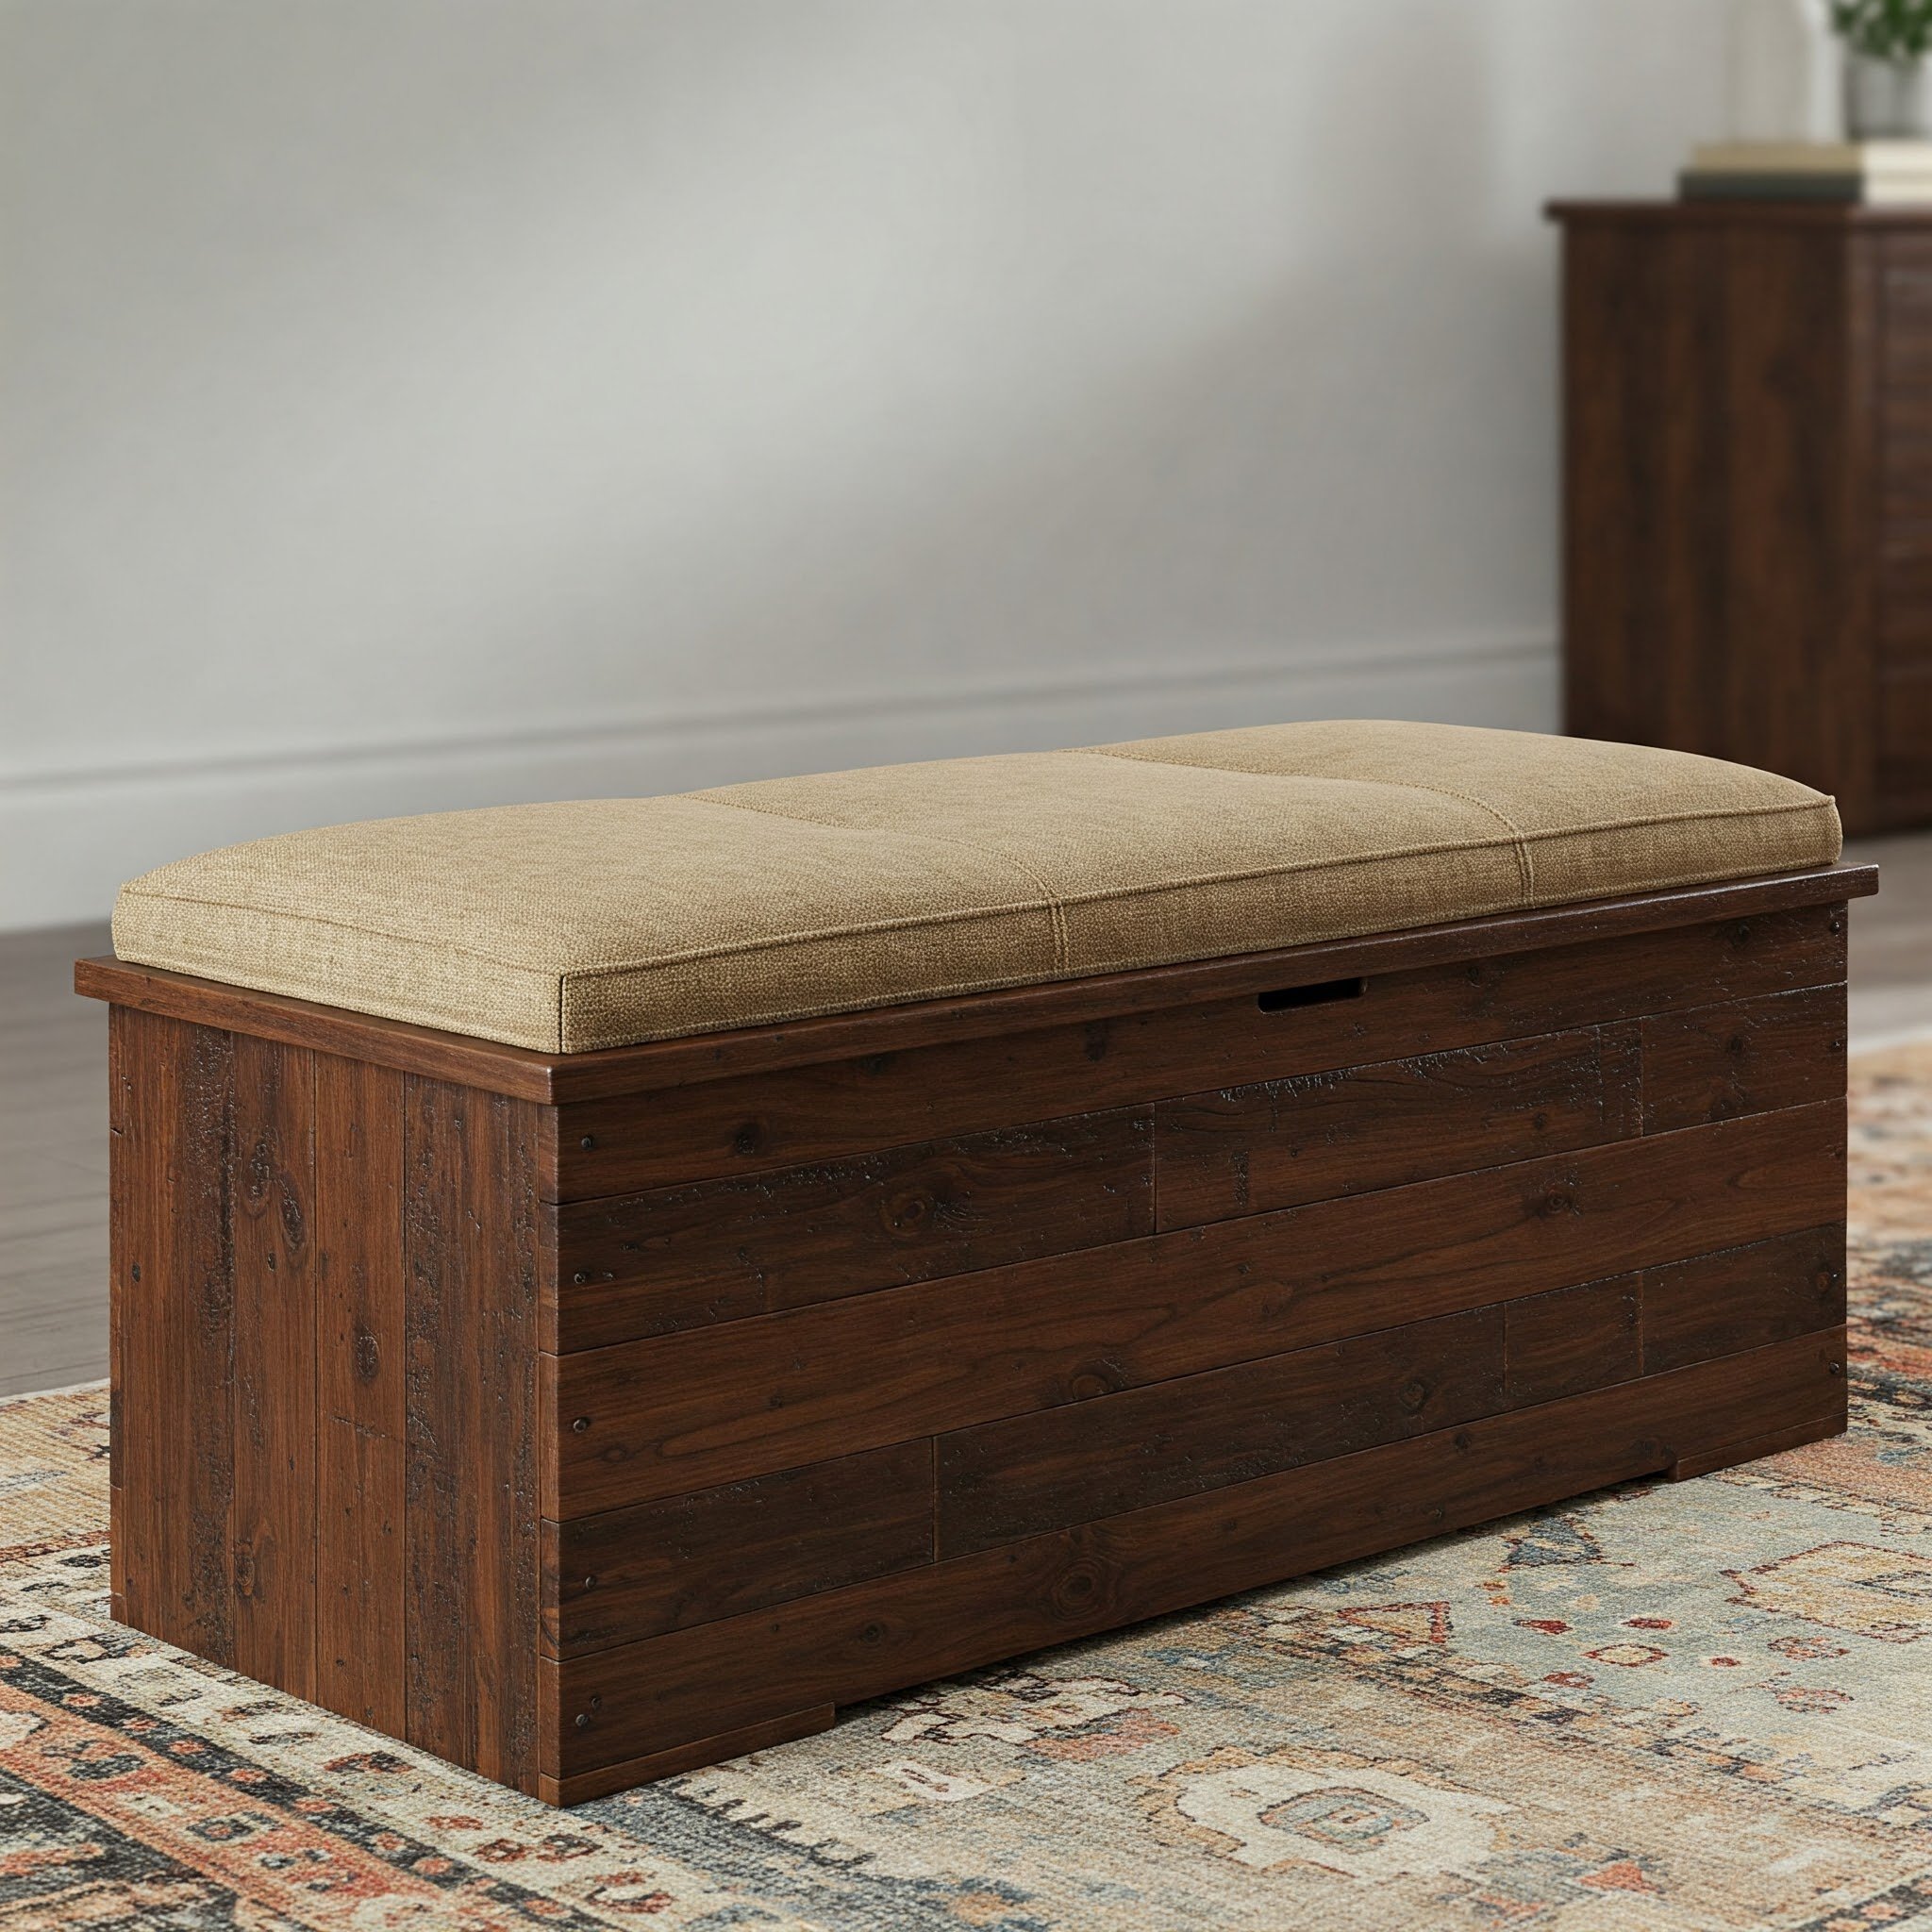
Step 4: Creating the Storage Compartment
This is where our Step-by-Step DIY Storage Bench Build Guide really shines. The storage compartment can be as simple or as elaborate as you like.
Options for Storage:
Hinged Lid: Create a hinged lid that can open to reveal the storage area.
Open Shelves: If you prefer easy access, leave the compartment open and consider adding decorative baskets.
Drawers: For a more polished look, install drawers. This option might require additional slides and handles.
Quick Steps for a Hinged Lid:
Measure the opening of the storage compartment.
Cut the lid piece to match the dimensions.
Attach hinges to the lid and the bench frame.
Test the movement and adjust as needed.
Step 5: Finishing Touches
Almost there—now it’s time to add the finishing touches that will transform your bench from a mere piece of furniture into a true work of art.
Painting or Staining:
Primer First: Always start with a primer to seal the wood and create a smooth base for your finish.
Apply Your Chosen Finish: Whether it’s a vibrant paint or a warm stain, apply evenly and let it dry completely.
Multiple Coats: For durability and a richer look, apply at least two coats, sanding lightly between layers.
Upholstery (Optional):
Measure and Cut Foam: If you’re adding a cushion, measure the seating area and cut the foam accordingly.
Cover with Fabric: Use a durable fabric that matches your décor. Staple the fabric neatly to the underside of the bench.
Add Decorative Elements: Consider adding piping or decorative buttons for extra flair.
Step 6: Final Assembly & Inspection
Once all the components are finished and dry, it’s time to put everything together and admire your handiwork.
Recheck All Joints: Make sure all screws are tight and every joint is secure.
Test the Storage Mechanism: Open and close the storage lid (or drawers) a few times to ensure smooth operation.
Clean Up: Remove any dust or debris, and step back to appreciate your new creation!
Step-by-Step DIY Storage Bench Build Guide: Assembly and Finishing Touches
In this section, we’re diving deeper into the assembly process, with some extra pro tips to guarantee your project is not only functional but downright fabulous.
Detailed Assembly Steps
Frame Construction:
Begin by aligning your base and side panels.
Ensure the structure is square by measuring diagonally from corner to corner.
Use clamps to hold the pieces in place while you drive in the screws.
Adding the Back Panel:
Once the frame is secure, attach the back panel.
This panel can be fixed or left as a design feature (think open-back for a modern twist).
Integrating the Storage Compartment:
If opting for a hinged lid, attach the hinges to the top panel first.
Align the lid with the opening, then secure the hinges to the frame.
For drawer installations, make sure to follow the specific instructions for the slides and check for smooth movement.
Final Reinforcements:
Add any additional supports, such as corner braces, to boost the overall stability.
Reinforce areas that will bear more weight—your future self will thank you!
Finishing Your Masterpiece
Sanding Revisited:
Give your bench one last light sanding after assembly to eliminate any rough spots where the pieces joined together.Sealing the Wood:
Applying a sealant not only protects the wood but also enhances the color and overall look. Choose a finish that suits your lifestyle—matte for a modern vibe or glossy for a more classic look.Accessorizing:
Once assembled, consider adding a few personal touches. Maybe a throw pillow or a small plant to bring life to the bench. It’s these little details that really make a space feel like home!
Tips & Tricks for a Smooth Build
Here are some insider secrets that I’ve picked up over the years. Trust me, these will make your DIY journey that much easier:
Pre-plan Your Cuts:
Map out your cuts on the wood before you start sawing. A well-planned cut can save you from costly mistakes later on.Use Quality Materials:
Skimping on quality might save you a buck now, but it can lead to problems down the road. Invest in good wood and durable hardware.Keep Your Workspace Organized:
A cluttered workspace is the enemy of productivity. Lay out all your tools and parts before you begin, and keep your area tidy as you work.Don’t Rush:
It’s tempting to speed through the project, but a measured, careful approach pays off. Enjoy the process and take breaks as needed.Ask for Help:
If you’re feeling a bit overwhelmed, don’t hesitate to ask a friend or family member for assistance. Two pairs of hands are often better than one, especially when aligning heavy pieces.
Personal Reflections on the DIY Journey
I remember the first time I decided to build something for my home—my hands were shaking with excitement (and a little bit of fear!). There’s something truly magical about taking raw materials and turning them into a functional piece of art. The Step-by-Step DIY Storage Bench Build Guide not only helped me create a storage solution that perfectly fits my space but also rekindled my love for hands-on projects.
It wasn’t all smooth sailing, of course. There were moments when the wood wouldn’t cut quite right, or the measurements seemed off. But, with a little perseverance and a lot of coffee, I managed to overcome each hiccup. And honestly? Every challenge made the finished bench even more special. After all, isn’t that what DIY is all about—embracing the journey as much as the destination?
Safety and Maintenance Tips
Keeping your new bench in tip-top shape is as important as the build itself. Here are some nuggets of wisdom to ensure your masterpiece lasts for years:
Regular Checks:
Every few months, inspect the bench for loose screws or signs of wear. Tighten any joints that might have loosened over time.Cleaning Routine:
Dust your bench regularly with a soft cloth. For tougher grime, use a gentle wood cleaner. Avoid harsh chemicals that might strip the finish.Touch-Up Paint:
Keep a small can of paint or stain handy for touch-ups. A few scratches here and there are normal, but addressing them early can prevent further damage.Weight Limits:
While your bench is built to last, remember it’s not indestructible. Avoid overloading it to prevent structural issues.
Conclusion
Building a piece of furniture from scratch might sound daunting at first, but trust me—it’s one of the most fulfilling projects you can undertake. Our Step-by-Step DIY Storage Bench Build Guide is more than just a set of instructions; it’s an invitation to create something uniquely yours. From gathering materials to adding those personal finishing touches, each step is an opportunity to learn, experiment, and ultimately bring a bit of your personality into your home.
So, are you ready to roll up your sleeves and transform your space? With a little creativity, a dash of perseverance, and our detailed guide by your side, you’ll have a custom-built storage bench that not only organizes your space but also becomes a cherished conversation piece. Remember, every scratch and every imperfection tells a story—your story of innovation, resilience, and the joy of creating something from nothing.
Happy building, and may your new bench be the start of many more DIY adventures!
Frequently Asked Questions
Q1: Do I need professional carpentry skills to follow this guide?
Nope, not at all! This guide is designed with beginners in mind. With a bit of patience and careful attention to detail, even a novice DIYer can create a stunning storage bench.
Q2: How long does the project take from start to finish?
It depends on your pace and the complexity of your design. Generally, you can expect the project to take anywhere from a full weekend to a couple of weeks if you’re working in small increments.
Q3: Can I modify the design to fit a different space?
Absolutely! The beauty of DIY is that you can tailor the design to your specific needs. Just be sure to adjust your measurements accordingly.
Q4: What type of wood is best for this project?
Reclaimed wood or quality plywood works great for this project. They’re durable, budget-friendly, and can be stained or painted to match your décor.
Q5: Do I need special tools to build the bench?
Most of the tools required are common in a basic toolkit. If you don’t have a circular saw, many hardware stores offer cutting services. The key is to ensure you have the right tools for precise measurements and cuts.
Stay up to date with our latest ideas!