How to Build a DIY Bed Frame with Storage Options
Discover a step-by-step guide on How to Build a DIY Bed Frame with Storage Options. This comprehensive, creative article covers planning, materials, assembly, and customization tips to help you create a unique, functional, and stylish bed frame that maximizes space and adds character to your bedroom.
Ever feel like your bedroom's missing that extra oomph and practicality? Well, you're in the right place! Building a DIY bed frame with storage options is not just a crafty weekend project—it’s an opportunity to blend style, function, and a sprinkle of your personality into a piece of furniture that speaks volumes about you. In this article, we’re diving headfirst into the world of DIY bed frames, offering you creative insights, detailed steps, and some nifty tricks along the way. Whether you're a seasoned DIY enthusiast or a first-time builder, you'll find something that sparks your interest. So, roll up your sleeves, grab your tools, and let’s transform that unused space under your bed into a secret haven for storage!
Why Build a DIY Bed Frame with Storage Options?
When you think about it, a bed isn’t just where you catch some Z’s—it's a sanctuary, a personal retreat after a long day. And what better way to elevate your space than with a bed frame that doubles as a storage haven?
Benefits of a DIY Bed Frame with Storage Options
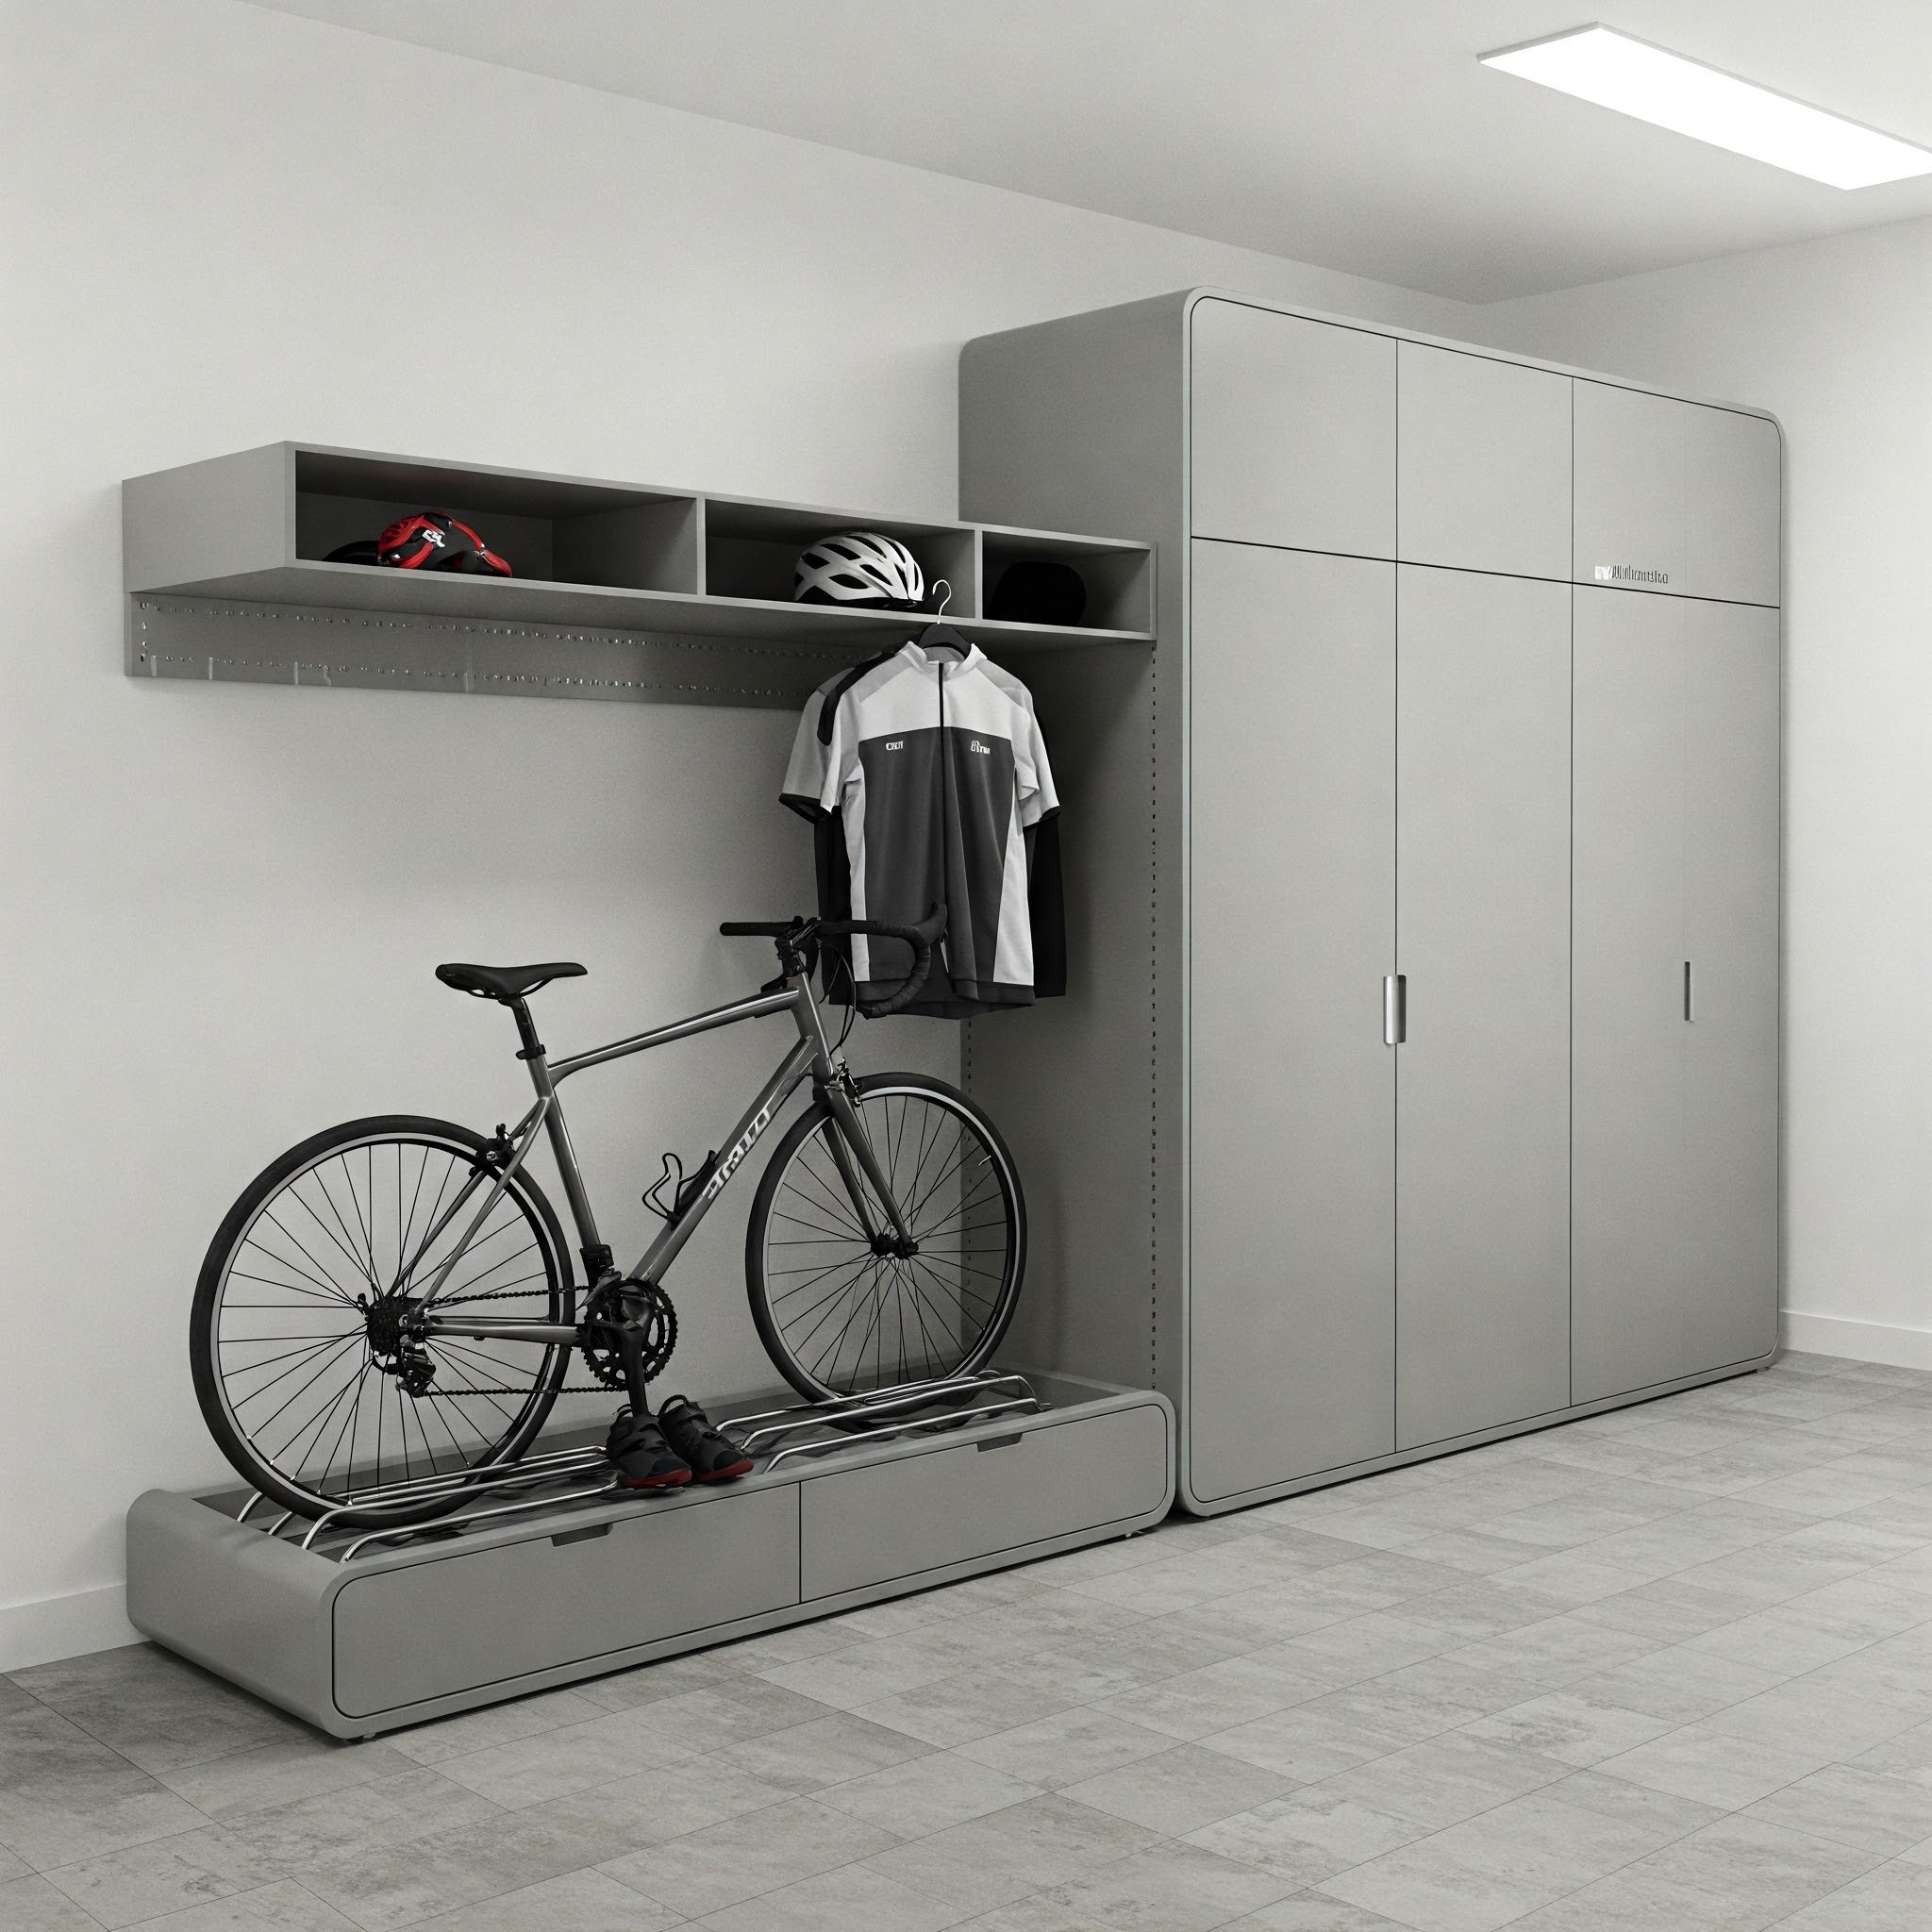
Maximized Space: Especially if you live in a small apartment or a cozy room, every inch counts. By integrating storage, you can hide away clutter and keep your sanctuary neat.
Customization: Unlike off-the-shelf pieces, your DIY project is tailored to your style, dimensions, and specific needs.
Cost-Effective: Avoid expensive furniture and channel your inner handyman (or handywoman). With a bit of creativity and elbow grease, you can craft a piece that's both practical and budget-friendly.
Satisfaction: There's a unique joy in saying, “I built that!” It’s not just furniture—it’s a testament to your skills and creativity.
Planning Your DIY Bed Frame with Storage Options
Before you jump right in, let’s take a step back and plan this out. A little bit of planning goes a long way, trust me.
Brainstorming Ideas and Design Considerations
When planning how to build a DIY bed frame with storage options, it's crucial to consider:
Room Layout: How does your bed fit into your space? Measure your room carefully, keeping in mind doorways, windows, and any other furniture.
Storage Needs: Do you need space for extra linens, seasonal clothing, or perhaps some hidden treasures? Decide on the type and size of storage compartments you want.
Aesthetic Appeal: Do you fancy a rustic vibe, modern minimalism, or something in between? Your design should complement the overall décor of your room.
Future Modifications: Consider designing your frame with future upgrades in mind. A modular design could let you add features as your needs evolve.
Tools and Materials You'll Need
Here’s a quick checklist to get you started:
Wooden Boards: Choose hardwood for durability or plywood for a budget-friendly option.
Saw: A circular or miter saw for precise cuts.
Drill and Screws: Essential for sturdy assembly.
Measuring Tape and Square: Accuracy is key!
Sandpaper: For that smooth finish.
Paint or Stain: To add color and protect the wood.
Storage Bins or Drawers (Optional): Depending on your design, you might want to incorporate ready-made storage solutions.
Wood Glue: Extra security for your joints.
Safety Gear: Goggles, gloves, and ear protection—safety firstt

Step-by-Step Guide on How to Build a DIY Bed Frame with Storage Options
Now that you're all geared up, let's break down the process into bite-sized, manageable steps. Remember, every step you take brings you closer to your dream bed frame!
Step 1: Gather Materials and Tools
Before you even think about cutting any wood, ensure all your materials and tools are at hand. This preparation not only saves time but also prevents those dreaded “uh-oh” moments when you realize you're missing something crucial.
Checklist Time!
Wood: Measure and purchase boards according to your bed frame size.
Tools: Lay out your saw, drill, and other essentials in a neat spot.
Workspace: Clear a spacious, well-lit area where you can work safely.
Step 2: Design and Measurement
A precise plan is your best friend. Sketch out your design, noting where each storage compartment will sit. This blueprint will guide you through the construction process and help avoid any miscalculations.
Key Considerations:
Dimensions: Ensure the frame fits your mattress snugly.
Storage Placement: Think about under-bed drawers or open shelves—what’s your vibe?
Aesthetic Touch: Incorporate design elements that match your room’s theme.
Step 3: Cutting and Assembling the Frame
Here’s where the magic begins! With your design and measurements in hand, start cutting your wood. Remember, it’s okay to take your time—precision over speed any day.
Cutting the Pieces:
Measure twice, cut once! Ensure all cuts are square and even.
Label each piece if necessary, so you know which part of the frame it belongs to.
Assembling the Base:
Begin by constructing the outer frame.
Use wood glue for an extra hold before screwing the pieces together.
Reinforce the structure with brackets if needed.
Building the Support System:
Install slats or a central support beam, ensuring they are evenly spaced.
This support not only holds your mattress but also adds to the frame's overall sturdiness.
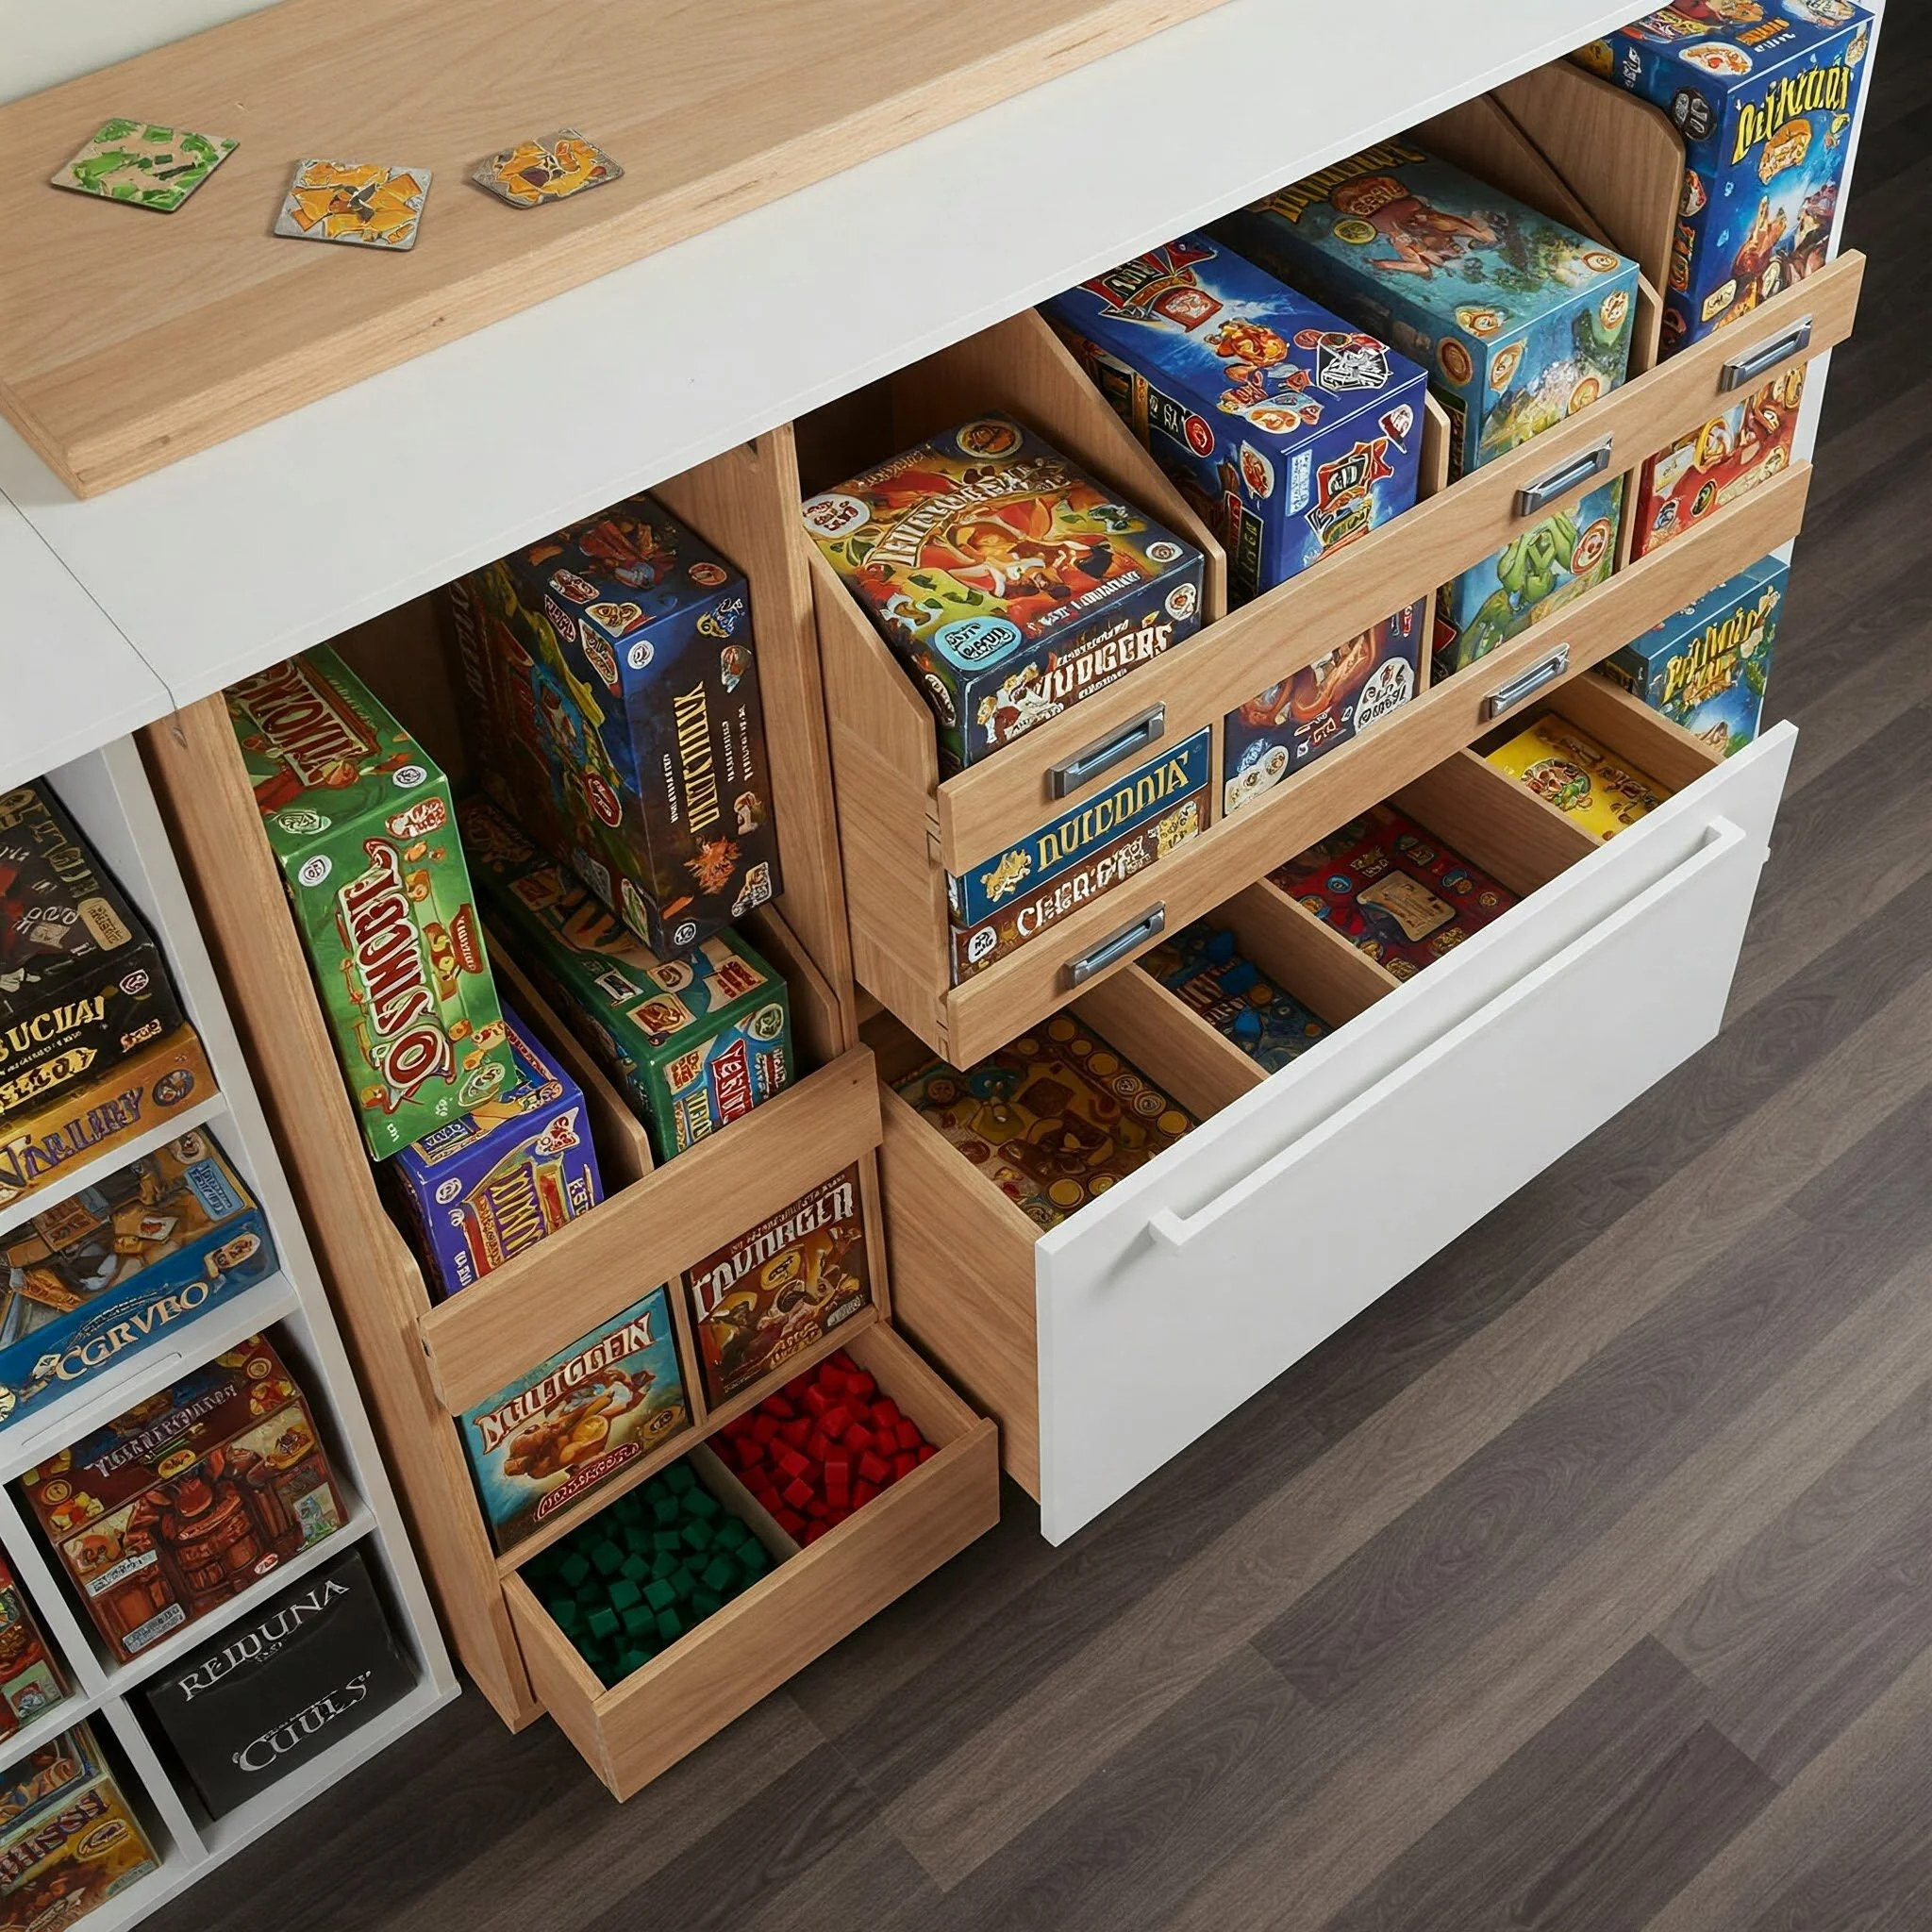
Step 4: Integrating Storage Options
Now comes the fun part: adding those clever storage solutions.
Under-Bed Drawers:
Cut and assemble drawers to fit snugly within your bed frame.
Install slides to make sure they open and close smoothly.
Open Shelves:
If drawers aren’t your style, consider building open compartments.
Use small boxes or baskets to organize your items neatly.
Hidden Compartments:
For the extra adventurous, design hidden doors or panels.
A push-to-open mechanism can add a touch of sophistication and surprise.
Step 5: Finishing Touches
It’s time to add the finishing flourishes that will elevate your DIY bed frame from functional to fabulous.
Sanding and Smoothing:
Sand all surfaces thoroughly to remove any rough edges or splinters.
A smooth finish not only feels great but also helps the paint or stain adhere better.
Painting or Staining:
Apply a base coat of primer if you're painting.
For staining, work in the direction of the wood grain for a natural look.
Let each coat dry completely before moving to the next step.
Hardware and Accessories:
Add handles to drawers or decorative metal accents.
Consider installing LED lights under the frame for a modern twist.

Customizing Your DIY Bed Frame with Storage Options
One of the coolest things about a DIY project is the freedom to customize. Here’s how you can add your personal touch:
Color and Finish Variations
Bold Colors:
If you’re feeling daring, go for bright hues that pop! A vibrant red or deep navy can transform the look of your frame.Natural Finishes:
Prefer a more classic vibe? A natural wood stain brings out the grain and character of the wood, lending a timeless charm.Matte vs. Gloss:
Matte finishes can give a modern, understated look, while gloss finishes add a touch of elegance and sheen.
Personalizing with Accessories
Decorative Hardware:
Swap out standard drawer handles for something with a bit more flair. Antique brass or sleek chrome can drastically alter the aesthetics.Mixing Materials:
Combine wood with metal accents or glass panels for a multi-dimensional design. This adds texture and depth to your bed frame.DIY Art Touches:
Why not add some custom artwork or carvings? Whether it’s a family crest or a whimsical design, personal touches make your piece truly one-of-a-kind.
Troubleshooting Common Issues
Even the best-laid plans can hit a snag or two. Here are some common issues you might run into and how to solve them:
Uneven Cuts
Solution:
Always double-check your measurements and use a square to verify right angles. If you do make a mistake, sometimes a little sanding or filler can save the day.
Loose Joints
Solution:
If your frame feels wobbly, reinforce the joints with extra wood glue or additional screws. You might also consider adding corner brackets for extra stability.
Storage Mechanisms Not Sliding Smoothly
Solution:
Check the alignment of your slides. A little lubricant can often work wonders, and if necessary, adjust the screws or re-measure the space to ensure a perfect fit.

How to Build a DIY Bed Frame with Storage Options: Advanced Tips and Tricks
For those of you who like to push the envelope, here are some advanced ideas to take your project to the next level.
Incorporating Smart Storage Solutions
Hidden Charging Stations:
Install a concealed compartment with outlets for charging your gadgets. This clever addition keeps cords out of sight and your nightstand clutter-free.Modular Storage:
Design your bed frame with adjustable compartments that can be reconfigured as your needs change. This adaptability is ideal for evolving lifestyles and changing storage needs.
Embracing Eco-Friendly Practices
Sustainable Materials:
Consider using reclaimed wood or eco-friendly materials. Not only does this reduce waste, but it also adds a unique story to your furniture.Low-VOC Finishes:
When choosing paints or stains, opt for low-VOC (volatile organic compounds) products. This choice is better for your health and the environment.
Streamlining the Assembly Process
Pre-Drilling Holes:
To avoid splitting the wood, pre-drill holes before inserting screws. This simple step can make a world of difference in the longevity of your bed frame.Template Guides:
Use templates for cutting and aligning pieces. These guides ensure consistency across all components, making your project look professional and polished.
Conclusion
And there you have it—a comprehensive guide on How to Build a DIY Bed Frame with Storage Options that’s as practical as it is stylish. This project isn’t just about creating a piece of furniture; it’s about crafting an extension of your personality into your living space. From the initial planning and precise measurements to the intricate details of integrating storage and applying that perfect finish, every step is a journey toward a unique, personalized masterpiece.
Building a DIY bed frame with storage options lets you not only save money but also create a functional work of art that stands out. You’ll enjoy the satisfaction of knowing you built it yourself, and every time you look at your bedroom, you’ll be reminded of the creativity and effort that went into its creation.
So, whether you're looking to revamp a cramped space or simply want a project that combines utility with a bit of creative flair, consider diving into this DIY adventure. With some basic tools, a solid plan, and a little elbow grease, you'll have a bed frame that not only supports your sleep but also supports your lifestyle. Happy building!
Frequently Asked Questions
Q1: What are the benefits of building a DIY bed frame with storage options?
A: Building your own bed frame not only saves money but also allows for complete customization. You can tailor the design to your specific needs, maximize space in smaller rooms, and add unique touches that reflect your personal style.
Q2: How difficult is it to build a DIY bed frame with storage options?
A: The difficulty largely depends on your experience with DIY projects and woodworking. With detailed planning and some basic tools, even beginners can create a sturdy and stylish bed frame. Just take your time, follow the steps, and don't be afraid to ask for help if needed!
Q3: What materials are best for constructing the bed frame?
A: High-quality hardwood offers durability and an attractive finish, but plywood can be a budget-friendly alternative. Consider your needs and aesthetic preferences when selecting materials.
Q4: How do I ensure that the storage compartments slide smoothly?
A: Make sure to use proper hardware, such as quality drawer slides, and always double-check the alignment during assembly. If needed, a bit of lubricant can help maintain smooth operation.
Q5: Can I modify the design to fit my specific room dimensions?
A: Absolutely! One of the best parts of DIY projects is the flexibility to tailor the design. Measure your space carefully and adjust the dimensions of your bed frame and storage compartments accordingly.
Stay up to date with our latest ideas!